22 Creative Mud Kitchen Ideas for Every Backyard, Patio, and Small Outdoor Space
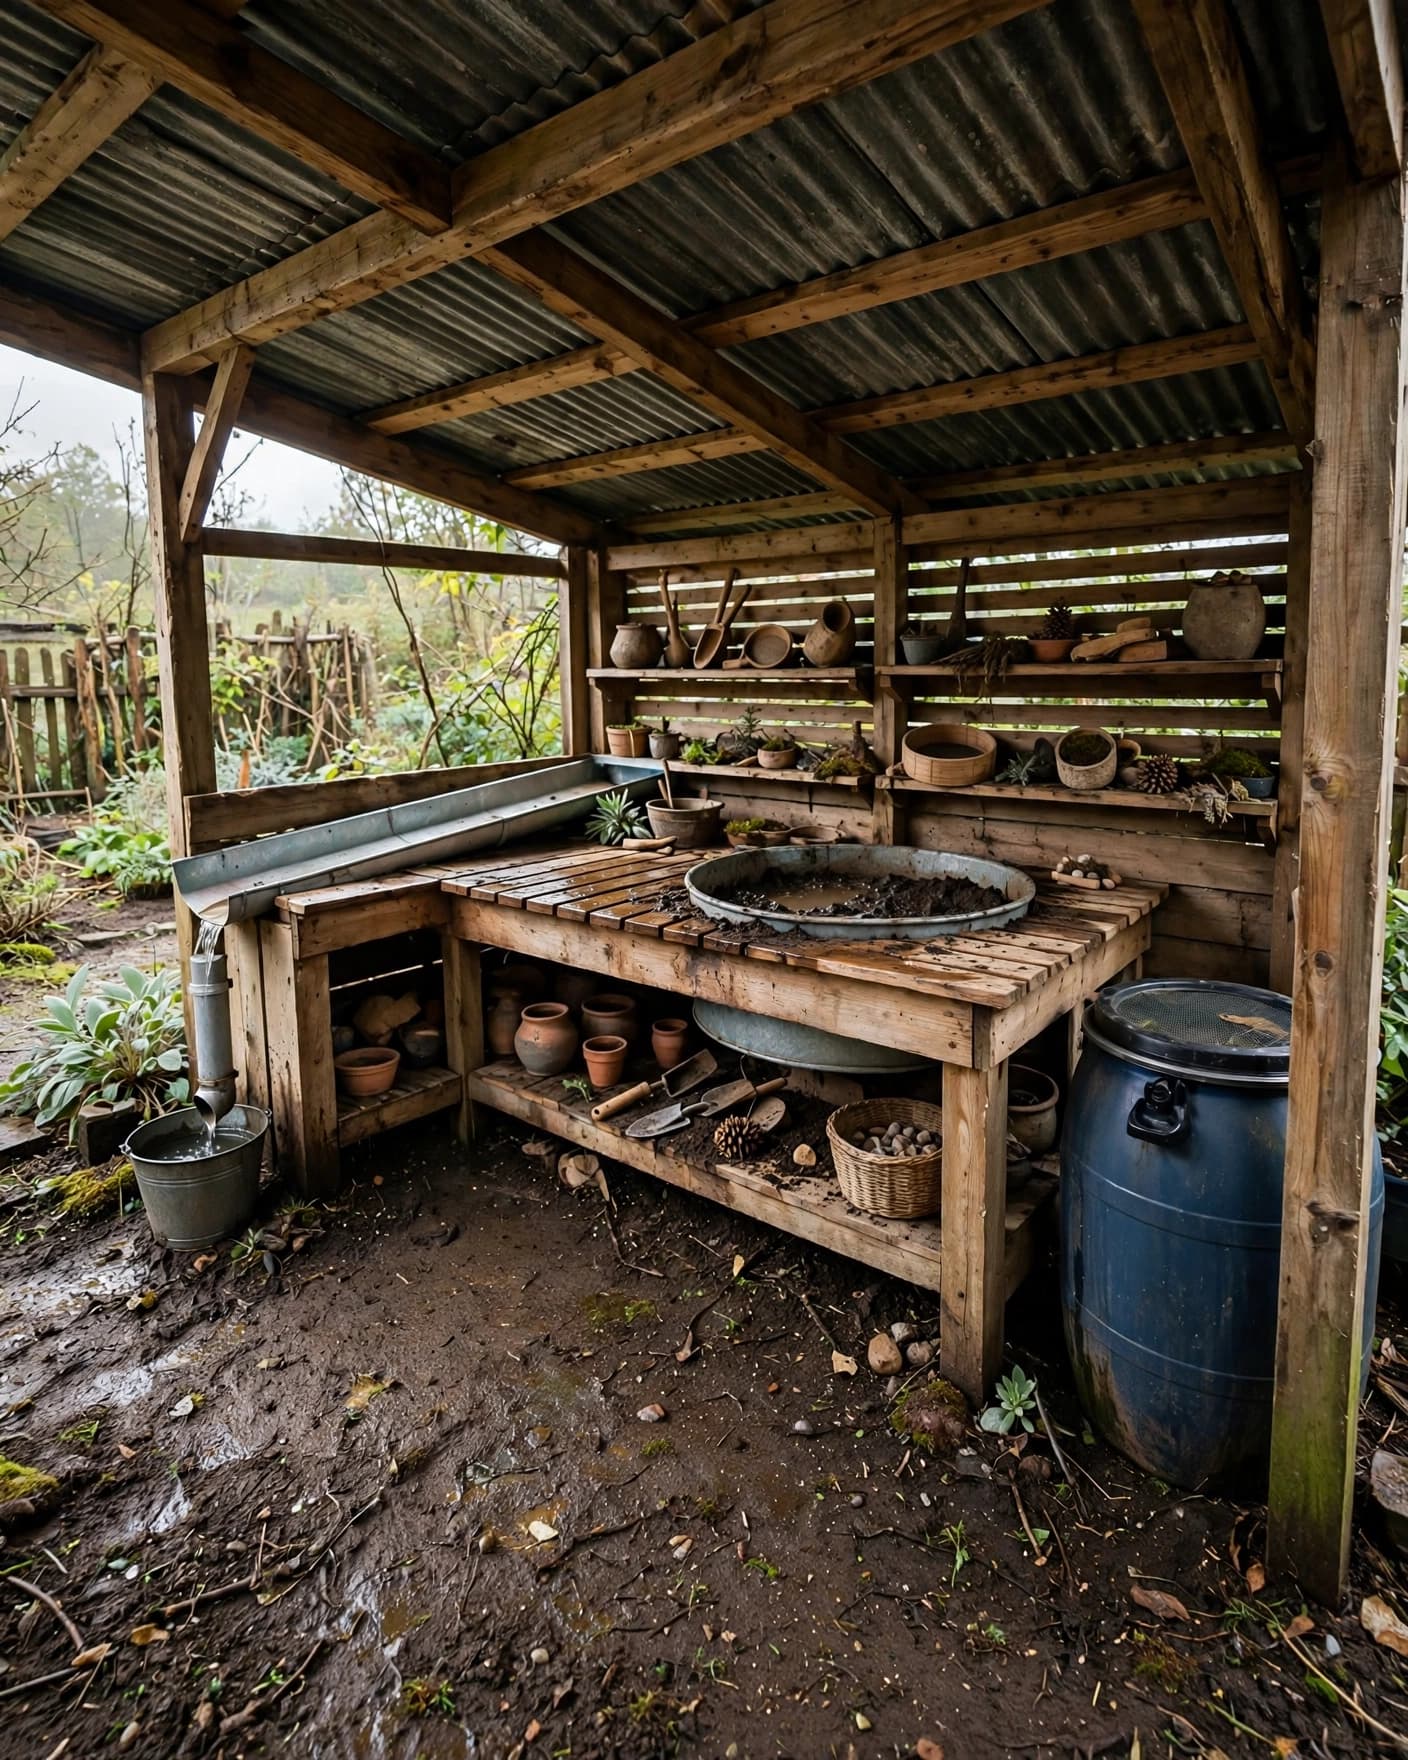
Mud kitchen ideas can turn a plain outdoor corner into a hands-on play space filled with mixing, pouring, scooping, planting, and pretend cooking. These 22 designs help you choose a setup that fits your space, style, budget, and the way your child likes to play.
22 Mud Kitchen Ideas for Every Outdoor Space
1. Classic Wooden Mud Kitchen
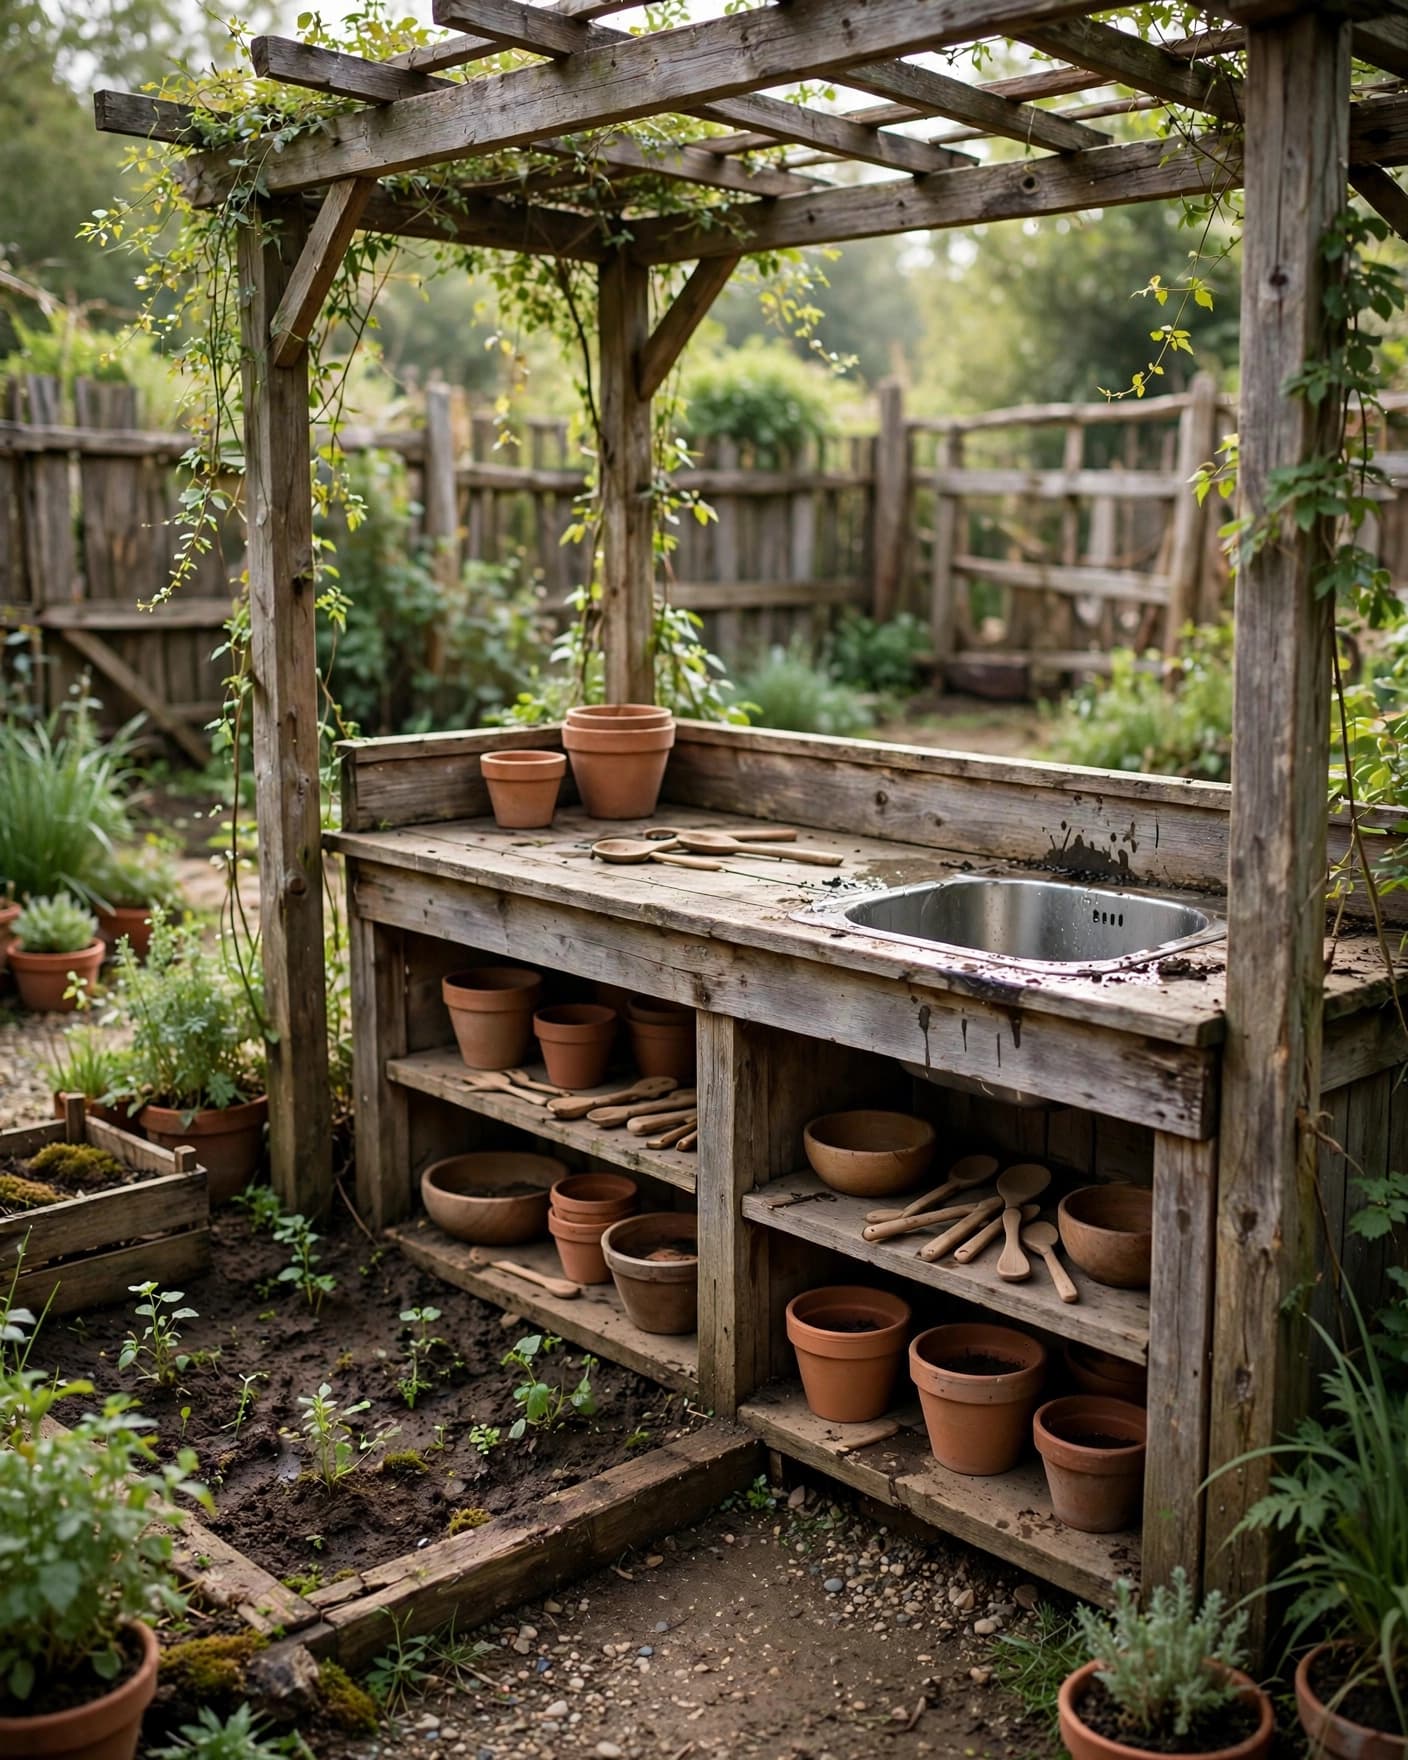
A classic wooden mud kitchen gives you a sturdy work area with a basin, shelves, and room for bowls, spoons, and natural play materials. Choose a warm wood finish if you want the kitchen to blend with your garden, or leave the wood unfinished so it develops a relaxed weathered look.
Place the kitchen near a soil bed or garden path so your child can gather mud without carrying it across the yard. Add a few large bowls, wooden utensils, and terracotta pots, then leave enough counter space for mixing and pretend meals.
2. Small Balcony Mud Kitchen
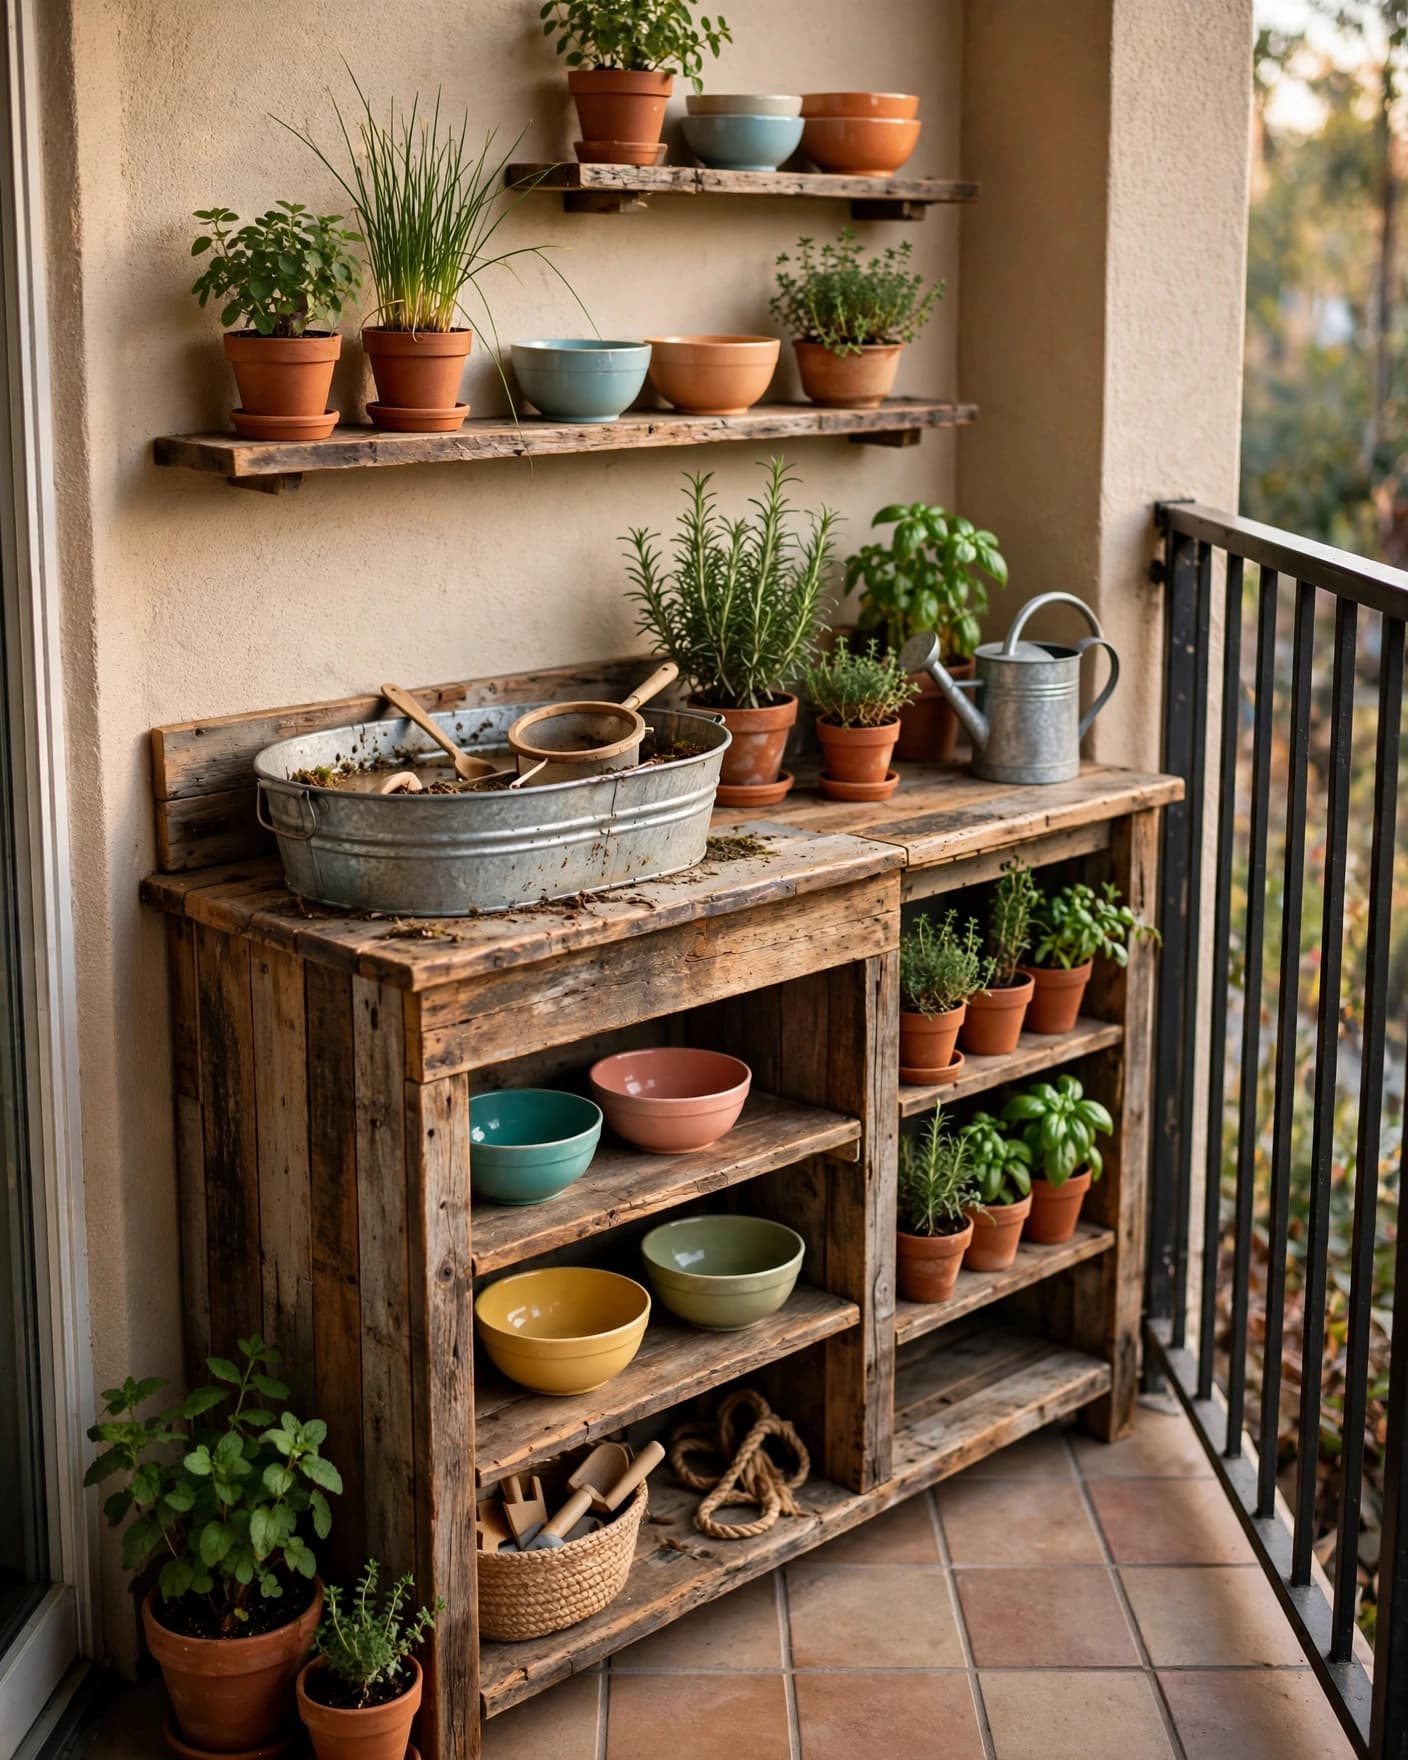
A compact mud kitchen can work on a balcony when you use a narrow counter, wall shelves, and one small basin. Keep the layout vertical so your child gets useful play space without losing the full walking area.
Use a shallow tub instead of a deep sink, and store tools in baskets that you can bring indoors after play. A few potted herbs can add color and scent while keeping the footprint small.
3. Upcycled Pallet Mud Kitchen
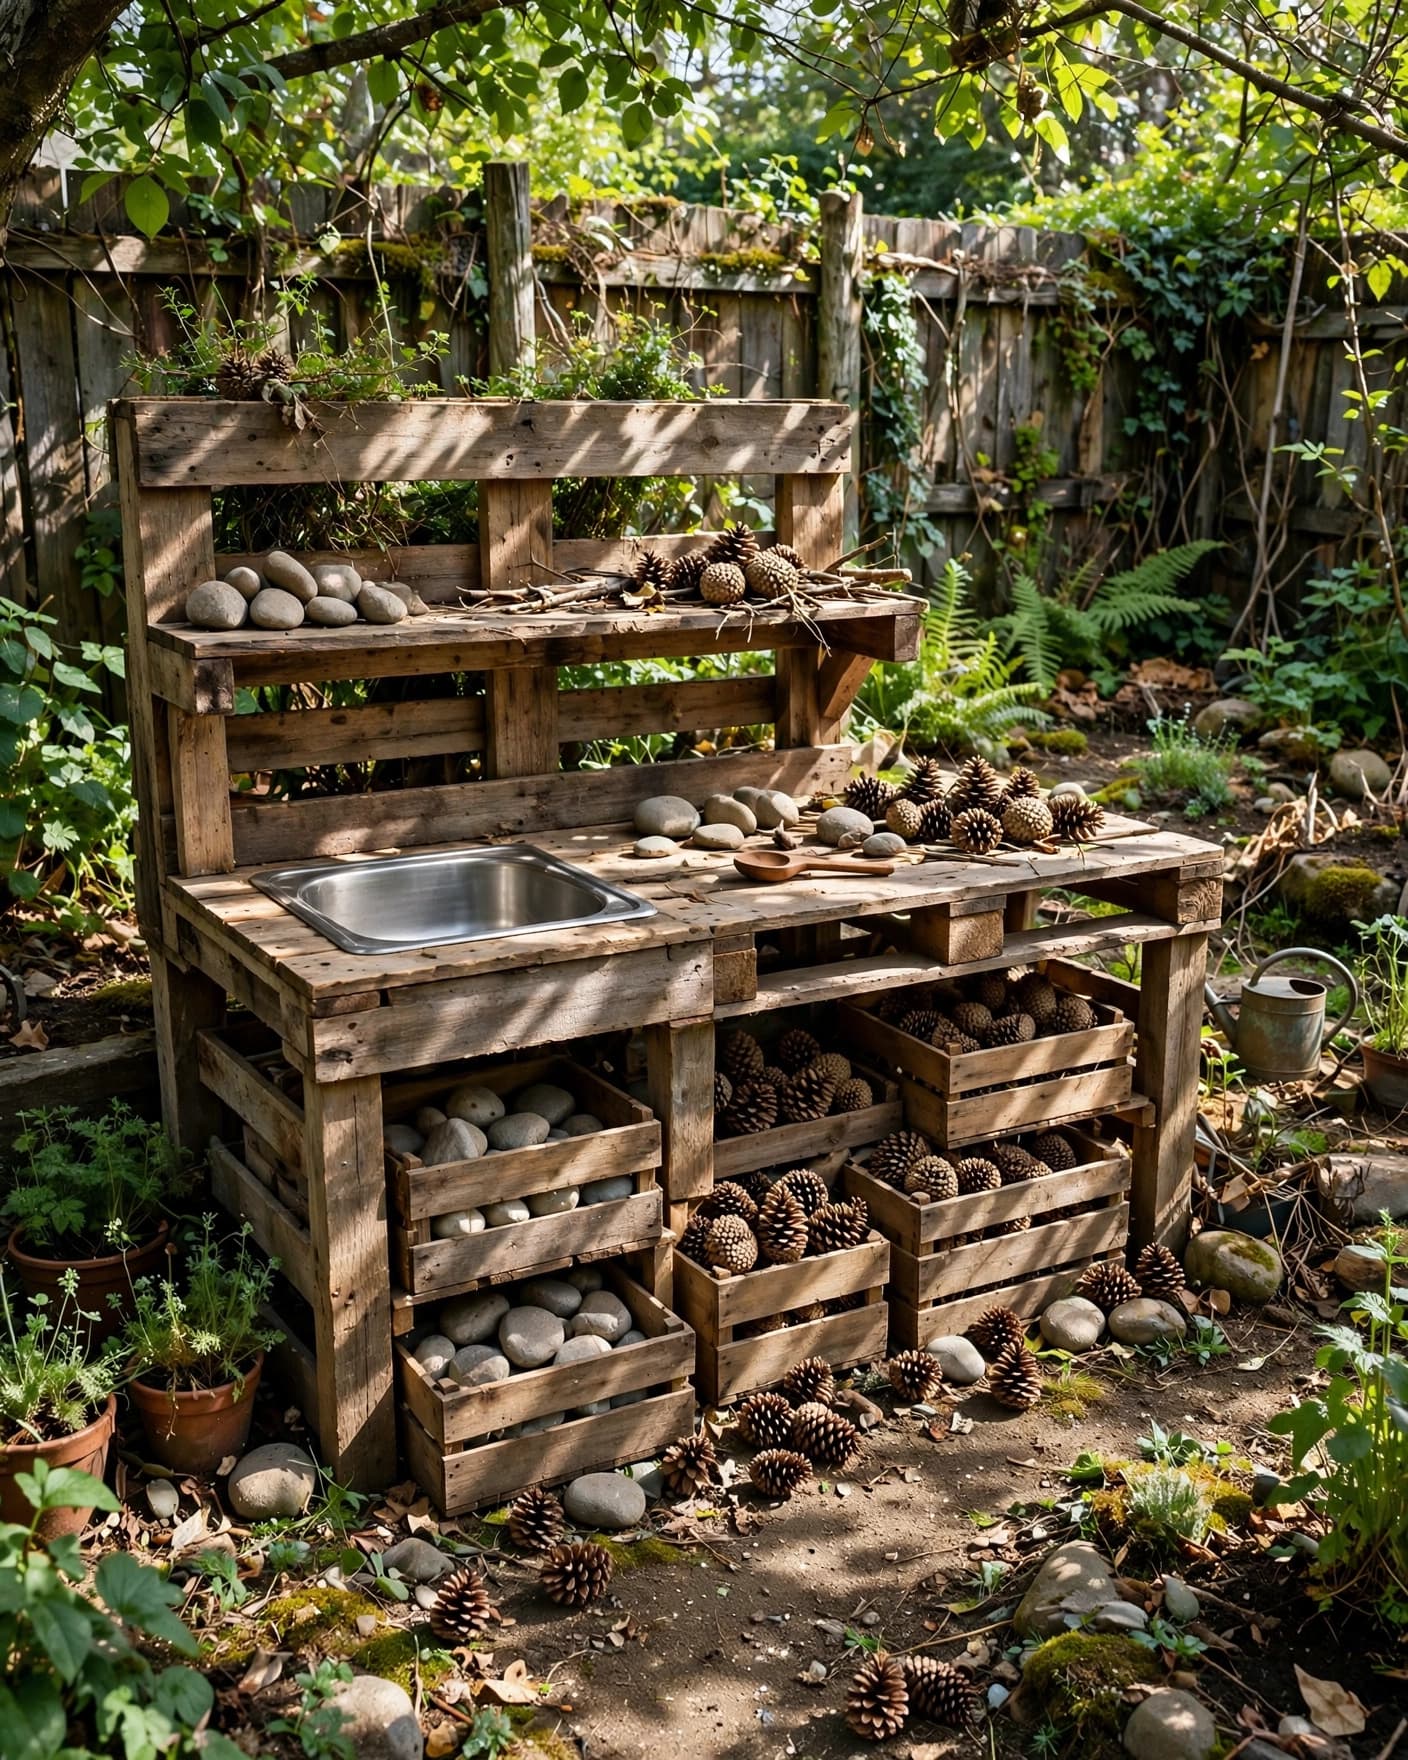
A pallet mud kitchen gives you a rustic look with a useful two-level work surface and open storage below. The different heights create space for a mixing bowl on top and crates, buckets, or loose parts underneath.
Sand every exposed surface until it feels smooth to the touch, then check every corner before your child uses the kitchen. Add a metal basin and a few flat stones to give the setup a practical garden feel without adding too many pieces.
4. Bright Painted Mud Kitchen
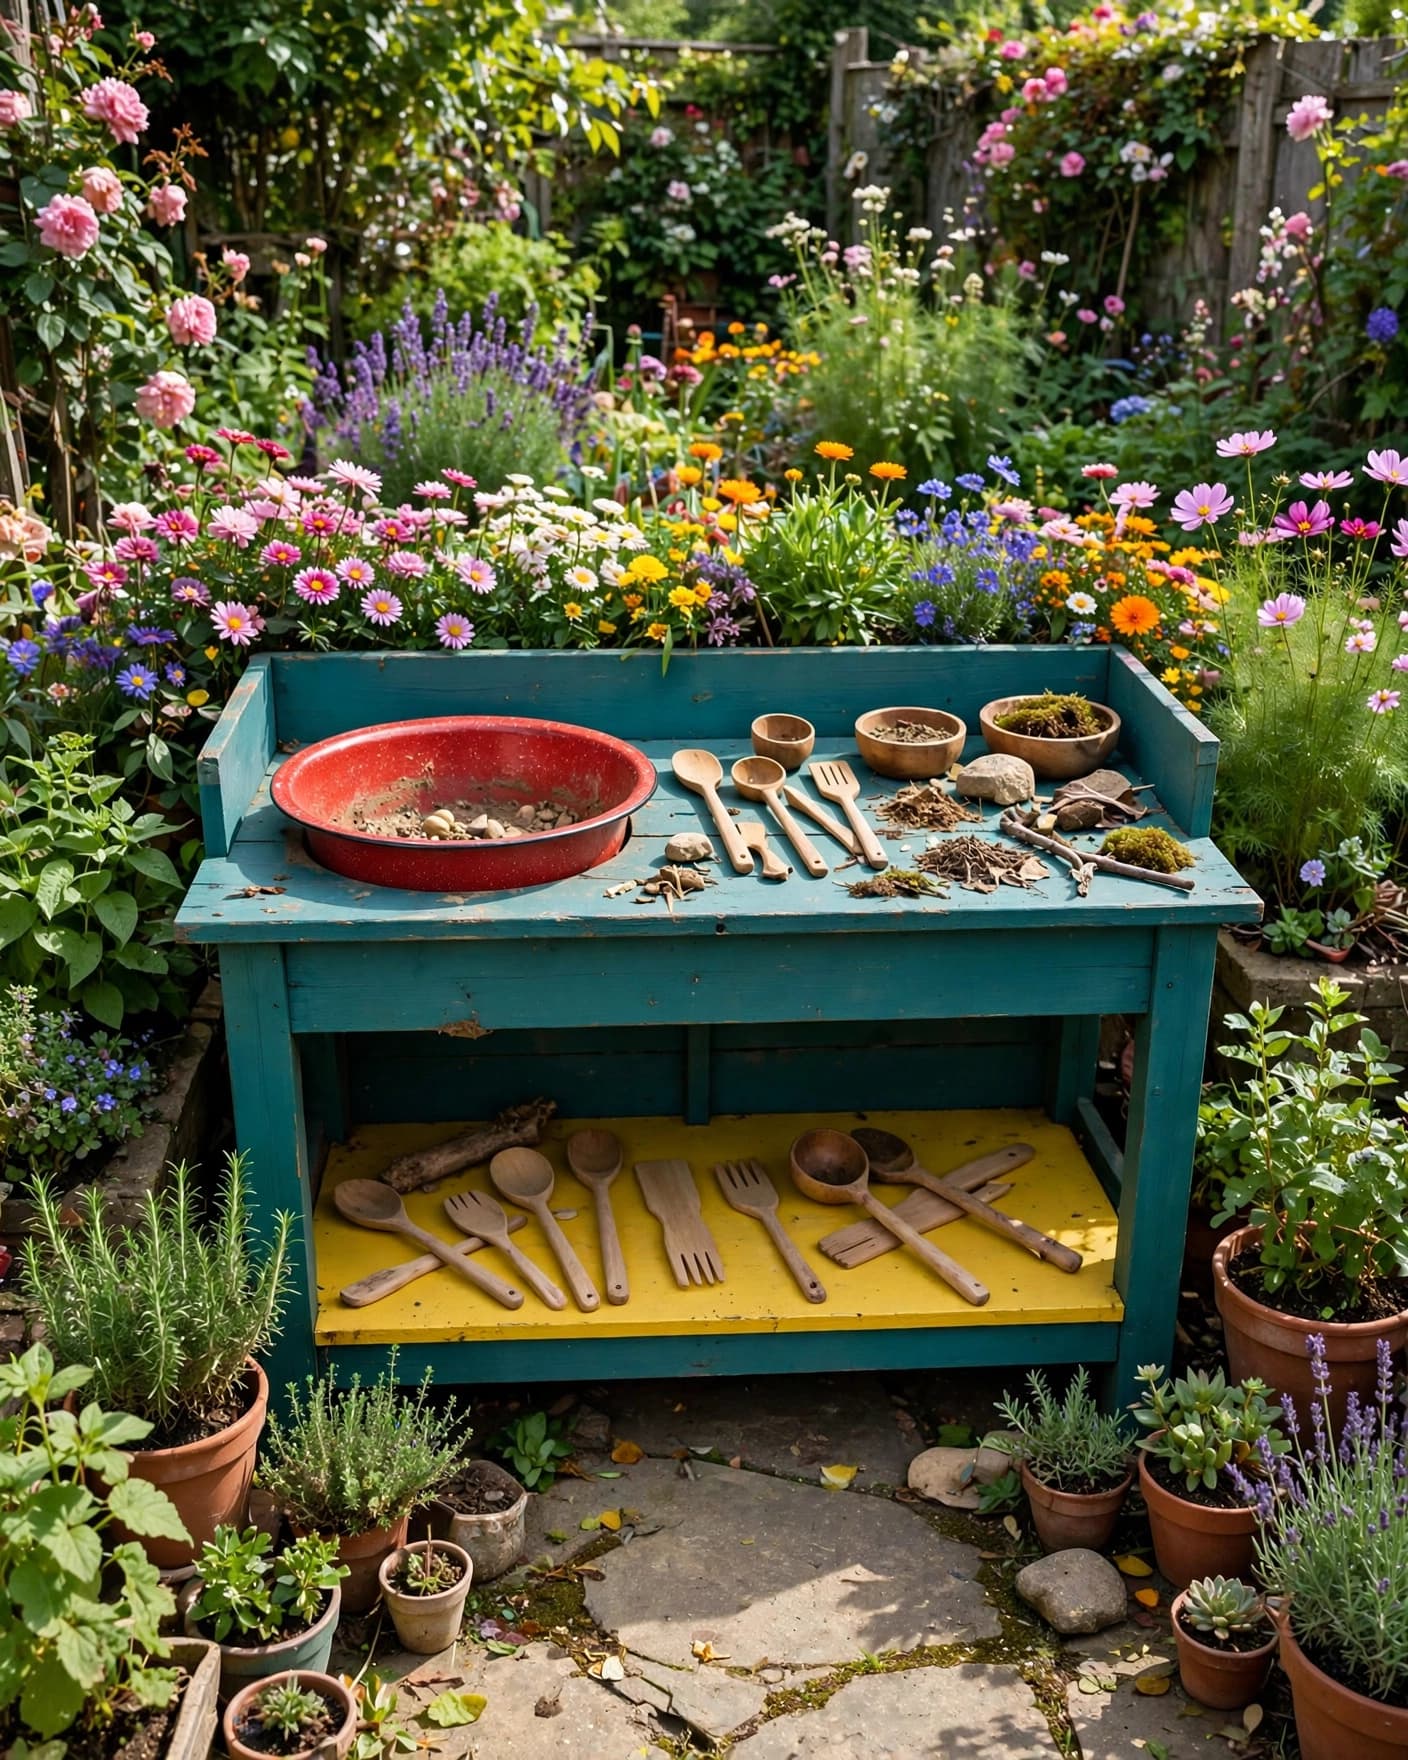
Bright paint gives a mud kitchen a cheerful focal point in a plain backyard. Try a teal counter with a yellow shelf, or use one bold color on the frame and a second shade on the basin area.
Keep the surrounding accessories simple so the paint remains the main feature. Plain wood utensils, neutral bowls, and a few green plants will balance the stronger colors without making the area feel crowded.
5. Montessori-Inspired Mud Kitchen
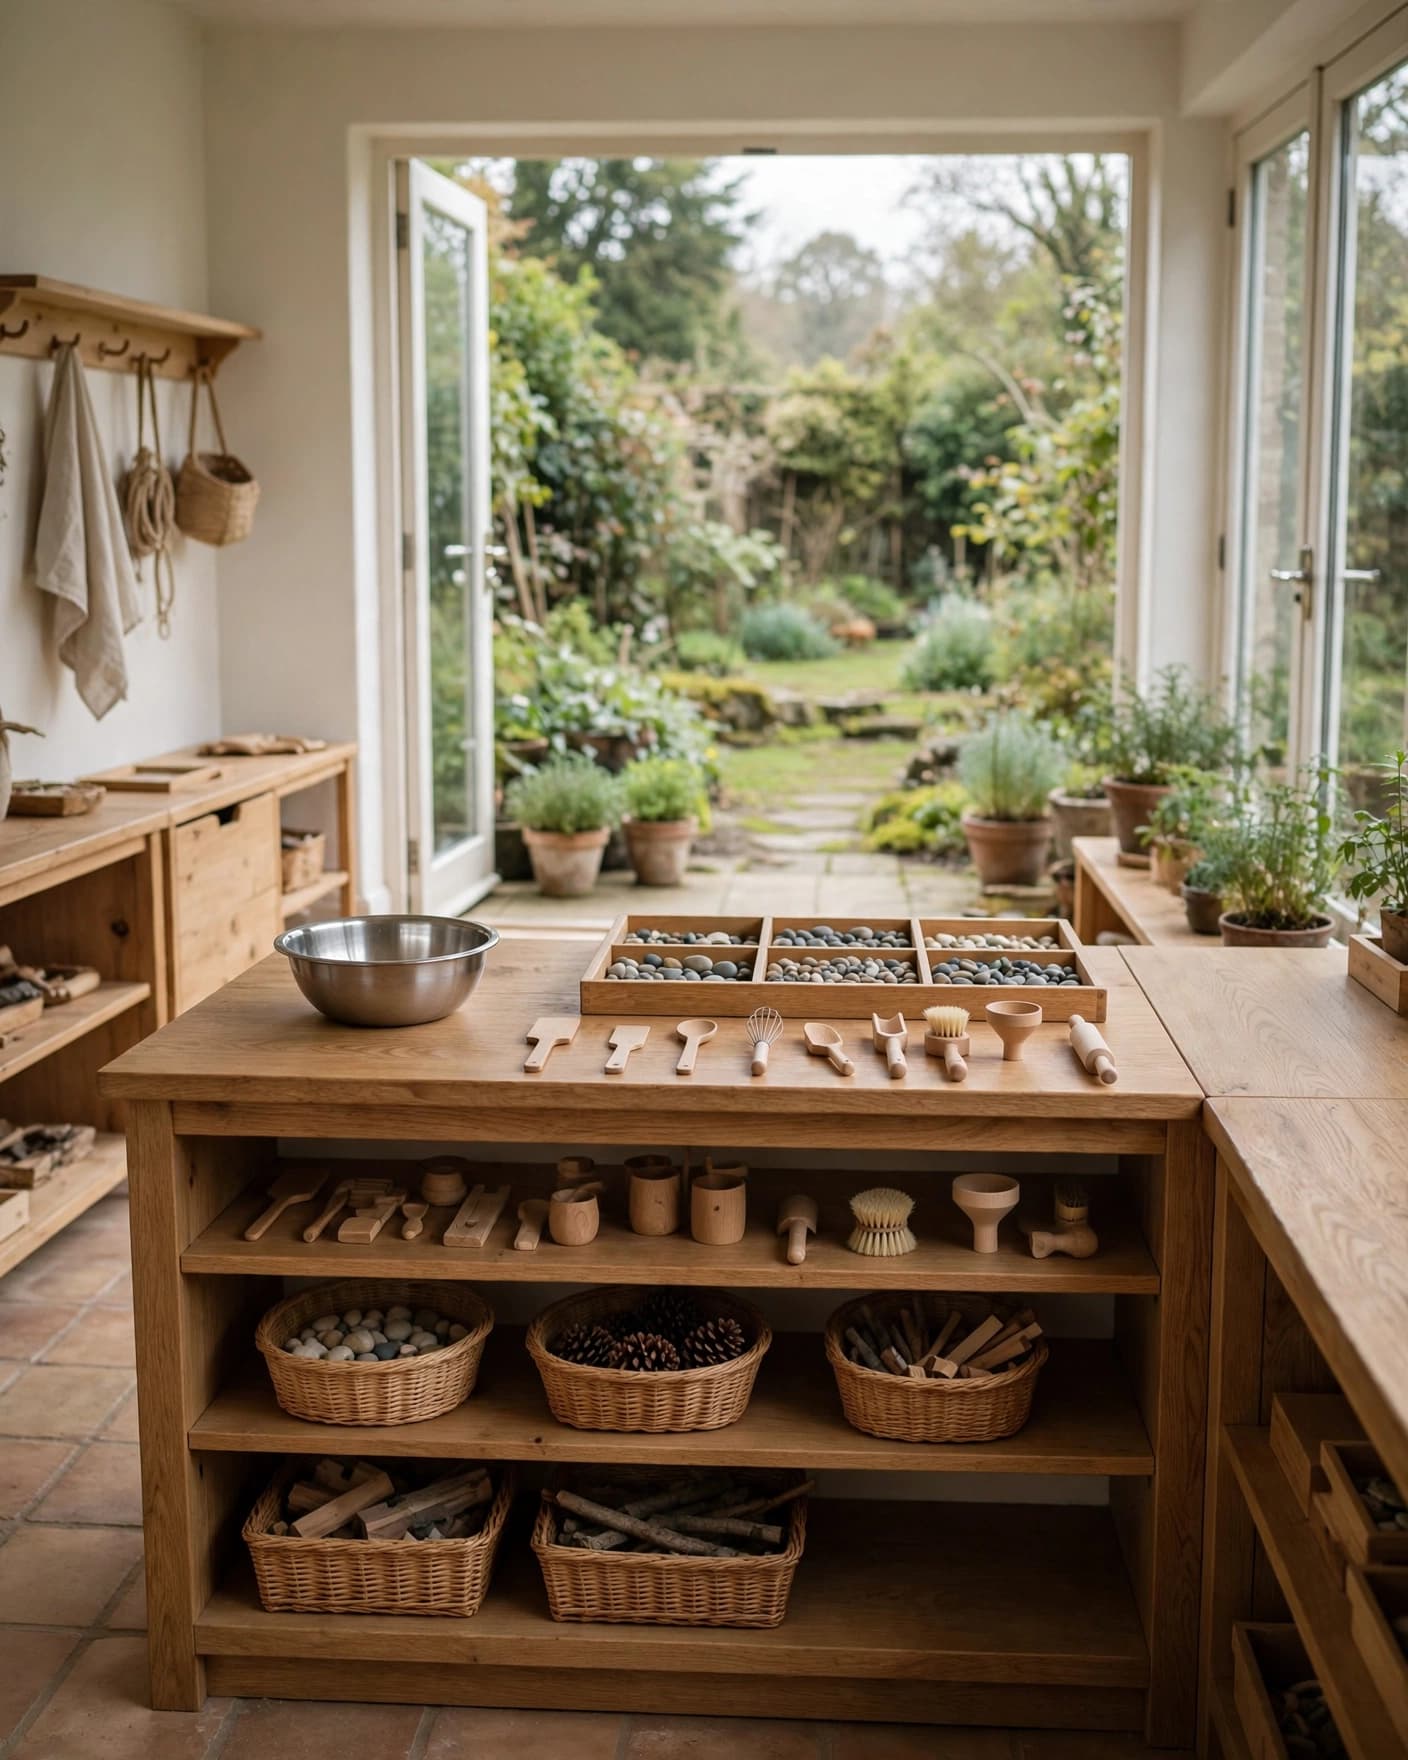
A Montessori-inspired mud kitchen uses a low counter, open shelves, and a small number of easy-to-reach tools. Your child can choose a bowl, collect soil, and return each item without needing an adult to hand over every piece.
Use natural materials with simple shapes so the setup feels calm and easy to understand. A shallow pebble tray, one metal bowl, and several wooden tools can offer plenty of play without filling every shelf.
6. Woodland Mud Kitchen
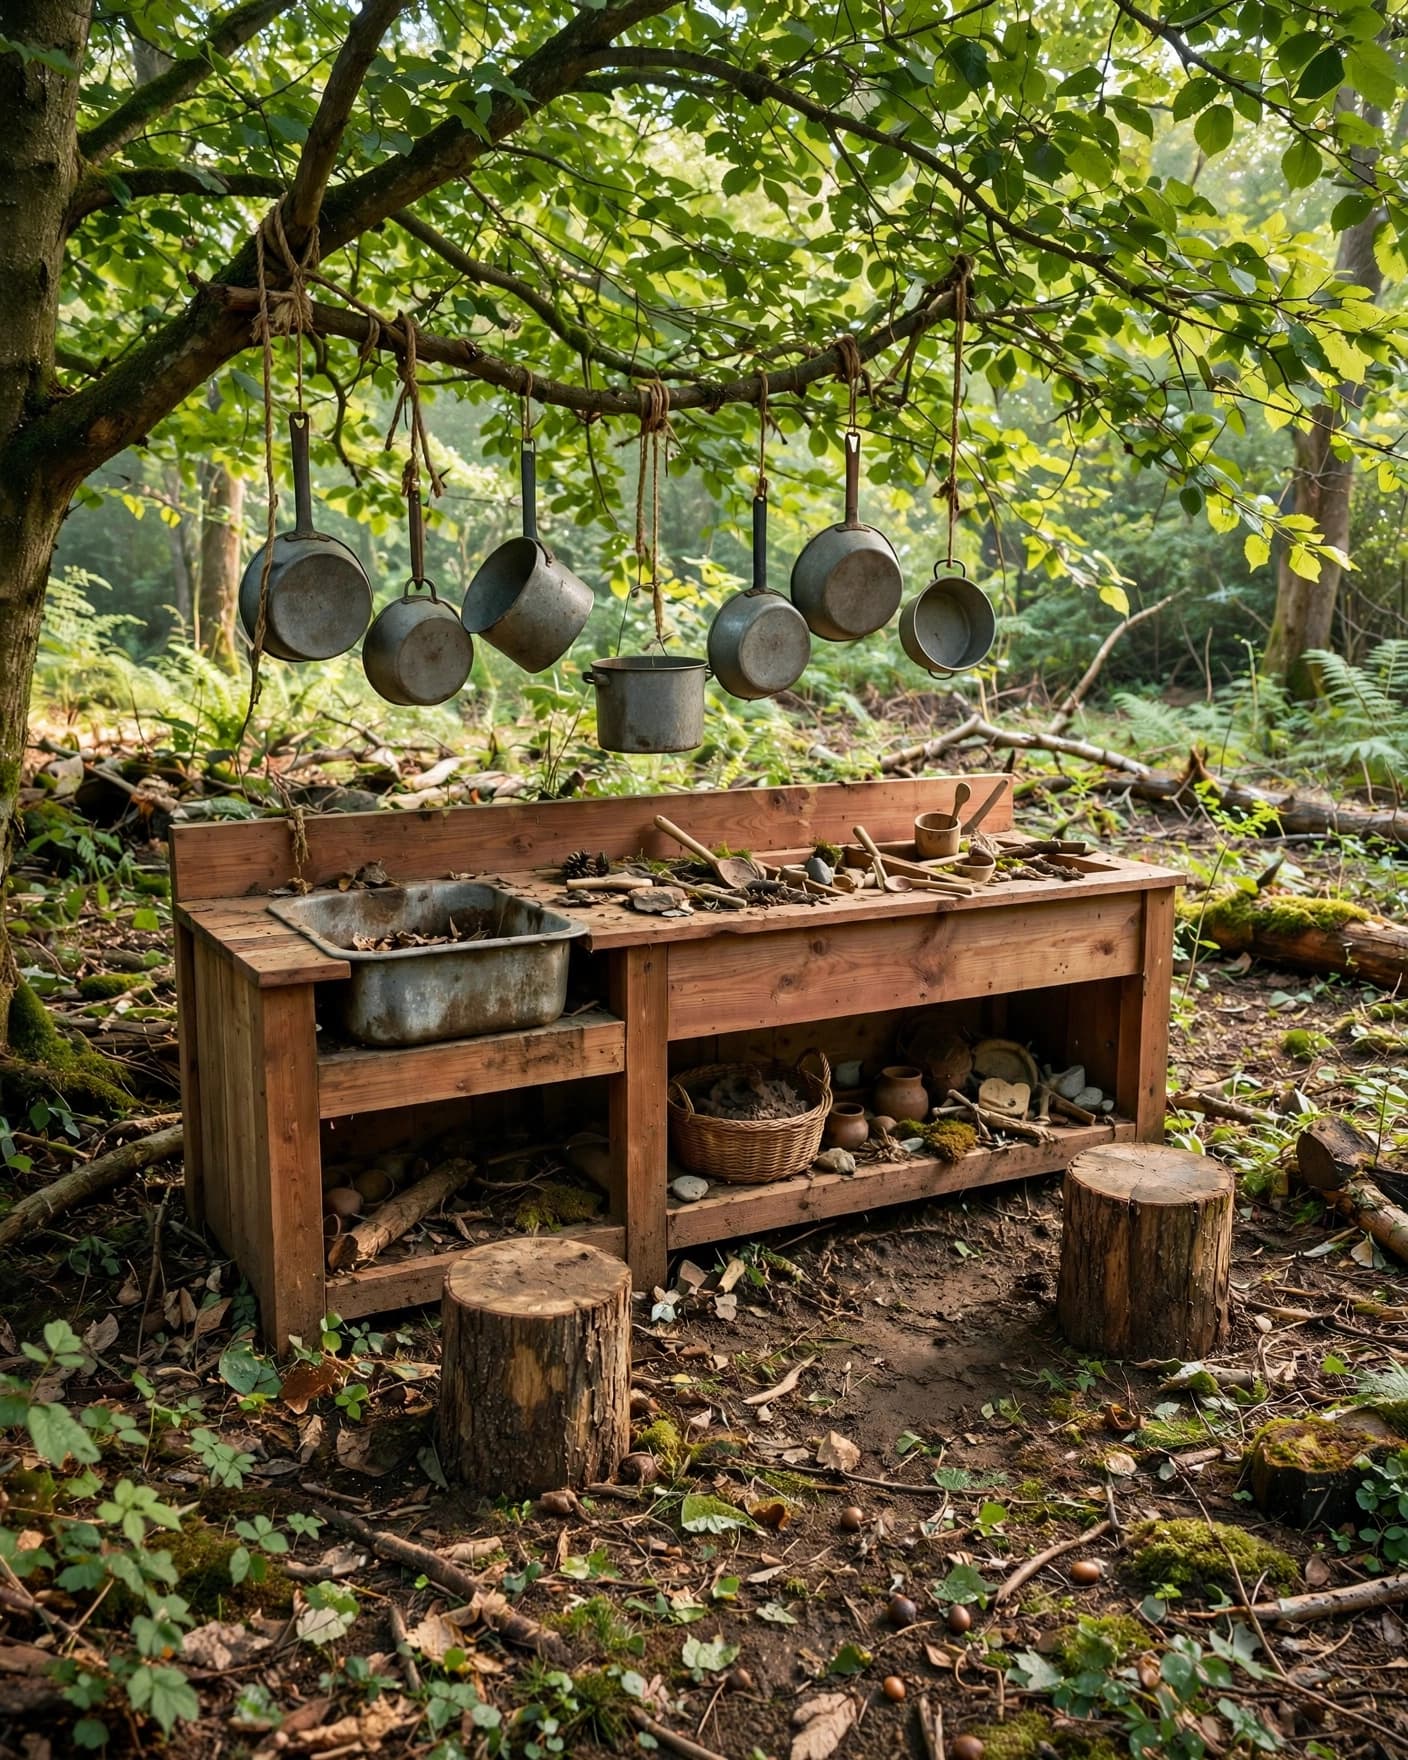
A woodland mud kitchen fits beautifully beneath a leafy tree or beside a natural garden border. Cedar boards, stump stools, fallen leaves, and smooth branches help the kitchen feel connected to its surroundings.
Hang plain metal pots from a sturdy rail, but keep the storage low enough for your child to reach the safest pieces. Leave room around the kitchen for collecting leaves, seed pods, and stones from the ground.
7. Modern Black Mud Kitchen
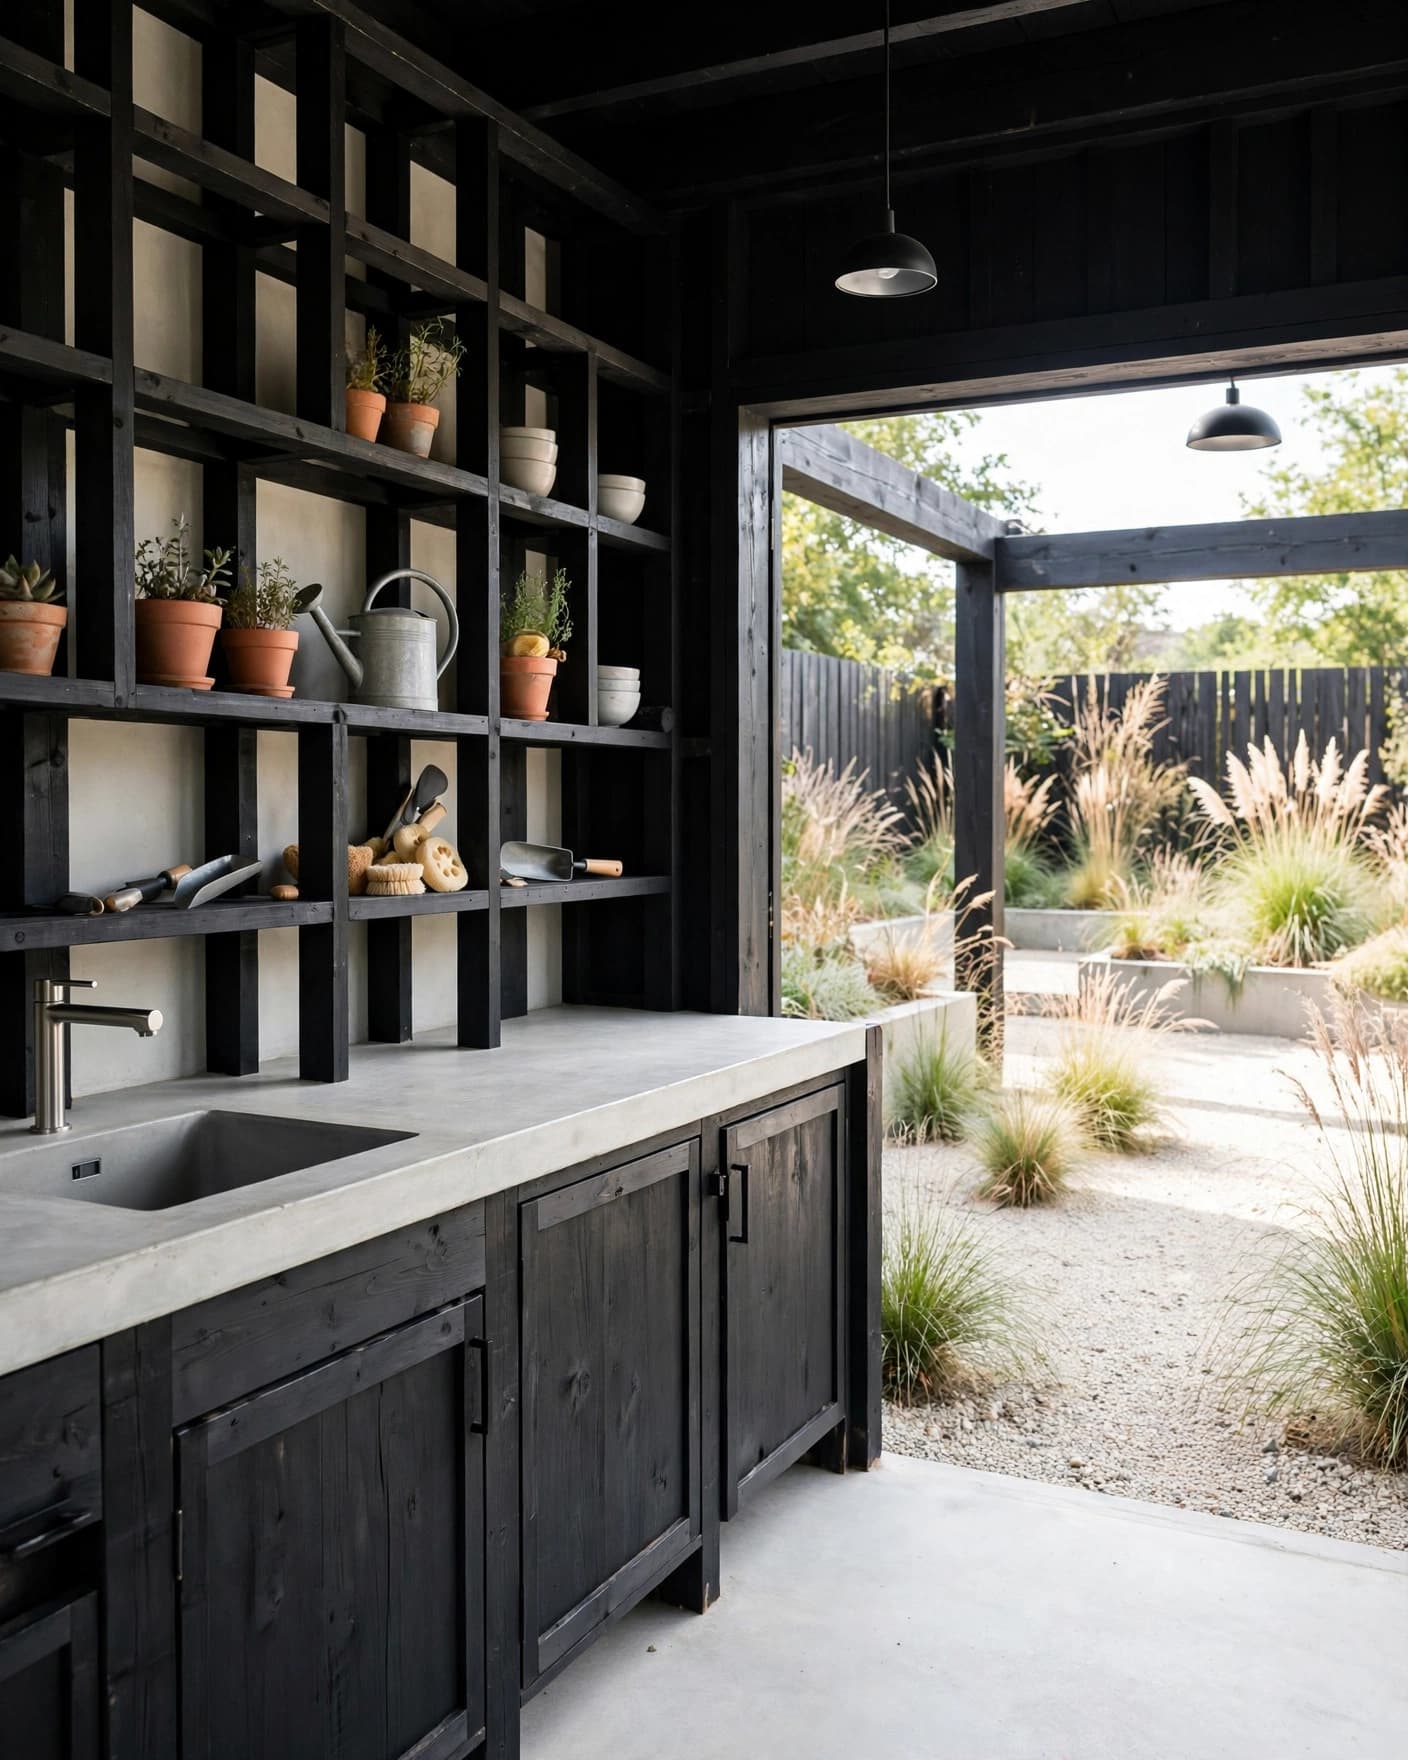
A black mud kitchen suits a modern backyard with gravel, pale paving, and simple planting. The dark frame gives the play area a clear shape, while a light counter or stainless basin keeps the design from looking too heavy.
Use open shelving instead of decorative doors so your child can see the tools at a glance. Pale bowls, natural wood spoons, and ornamental grasses will soften the strong black finish.
8. Repurposed Furniture Mud Kitchen
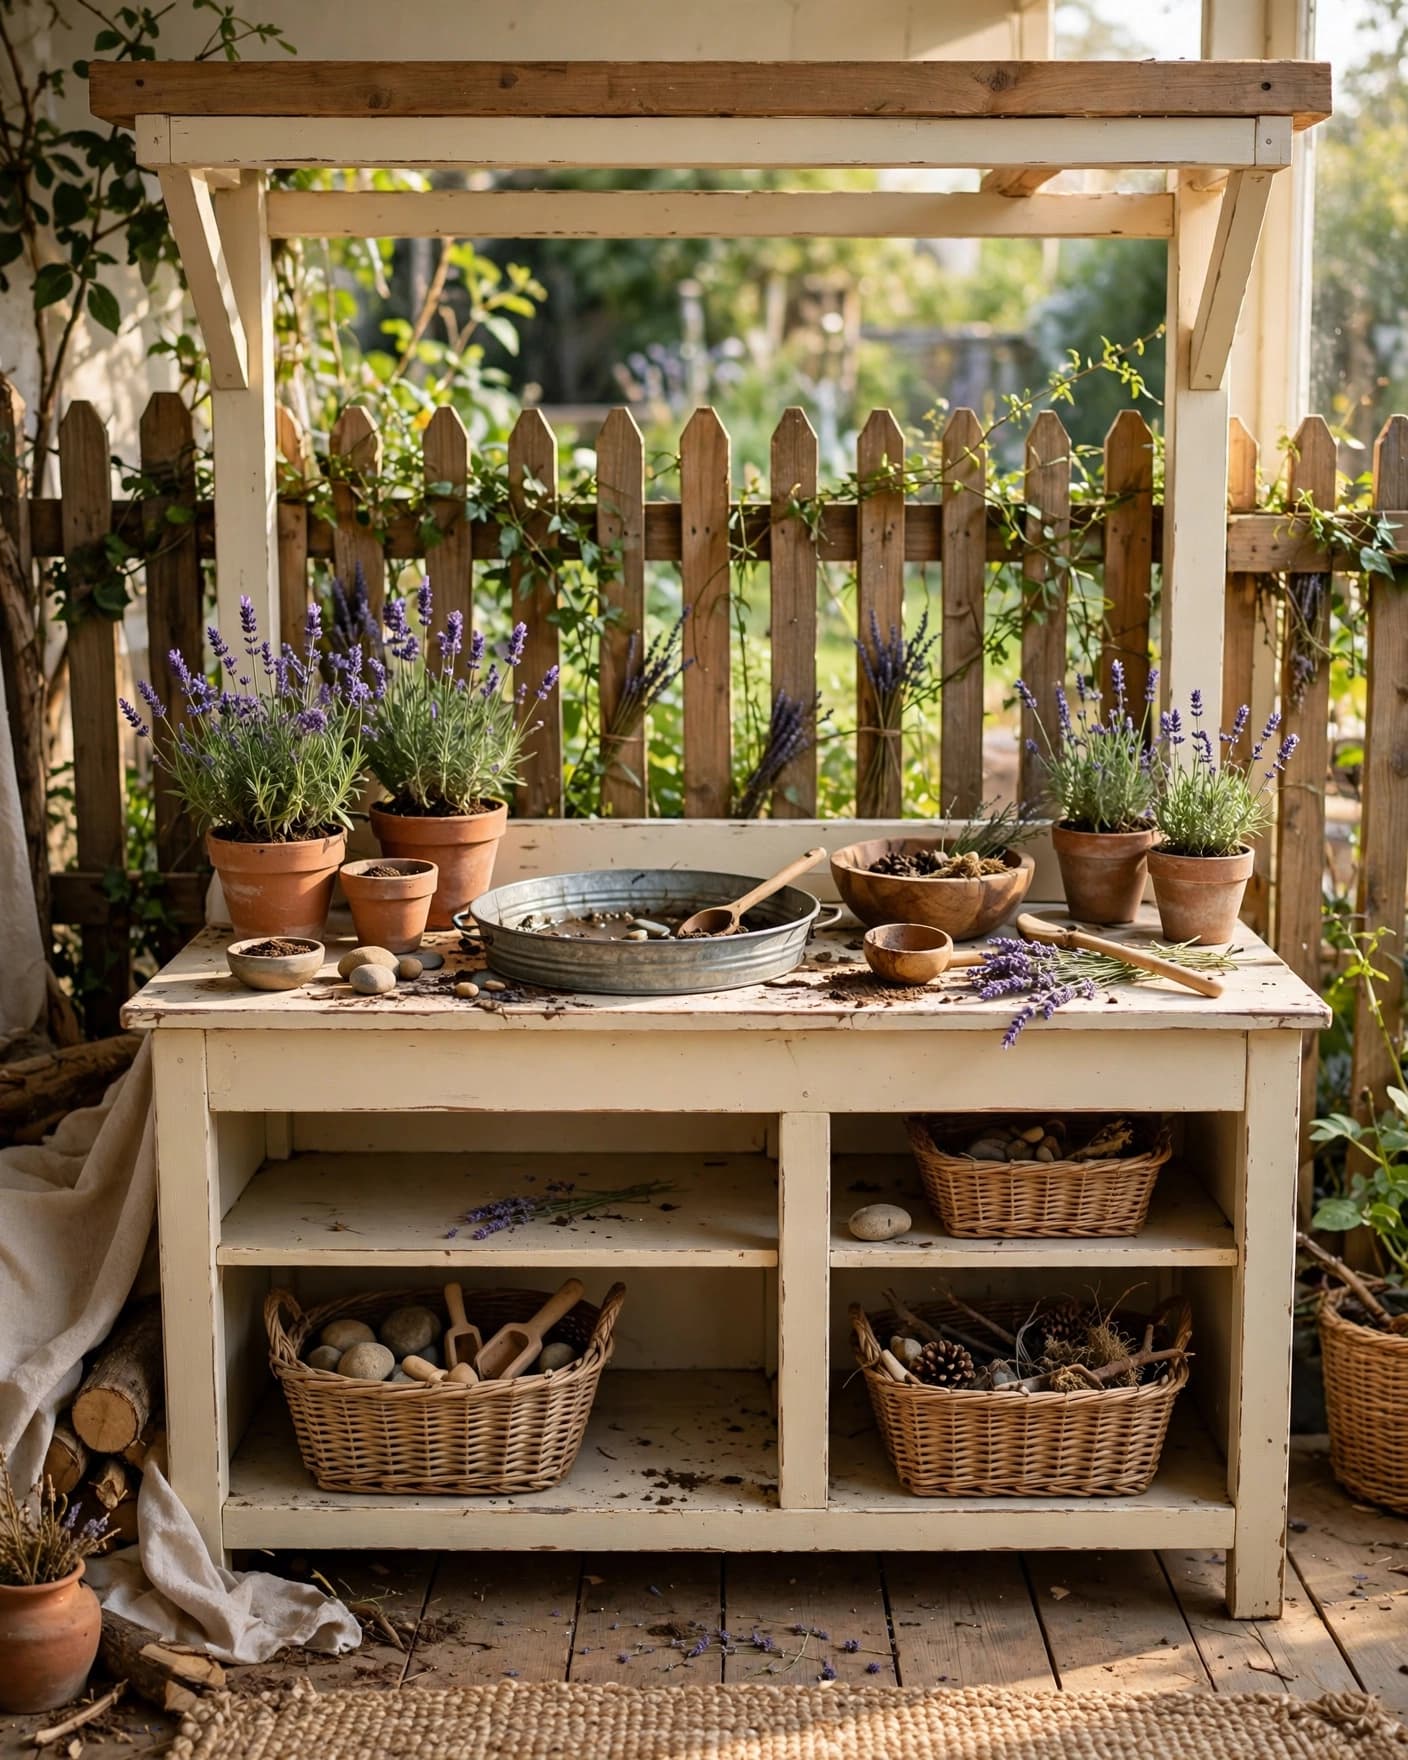
An old console table, sideboard, or outdoor bench can become a mud kitchen with a few thoughtful changes. Add a shallow basin to the top, place baskets underneath, and use the existing shelves for bowls and tools.
Choose furniture with a stable base and a surface that you can clean after messy play. Remove fragile hardware, cover sharp edges, and check the whole piece often if your child climbs or leans against it.
9. Mud Kitchen With a Water Wall
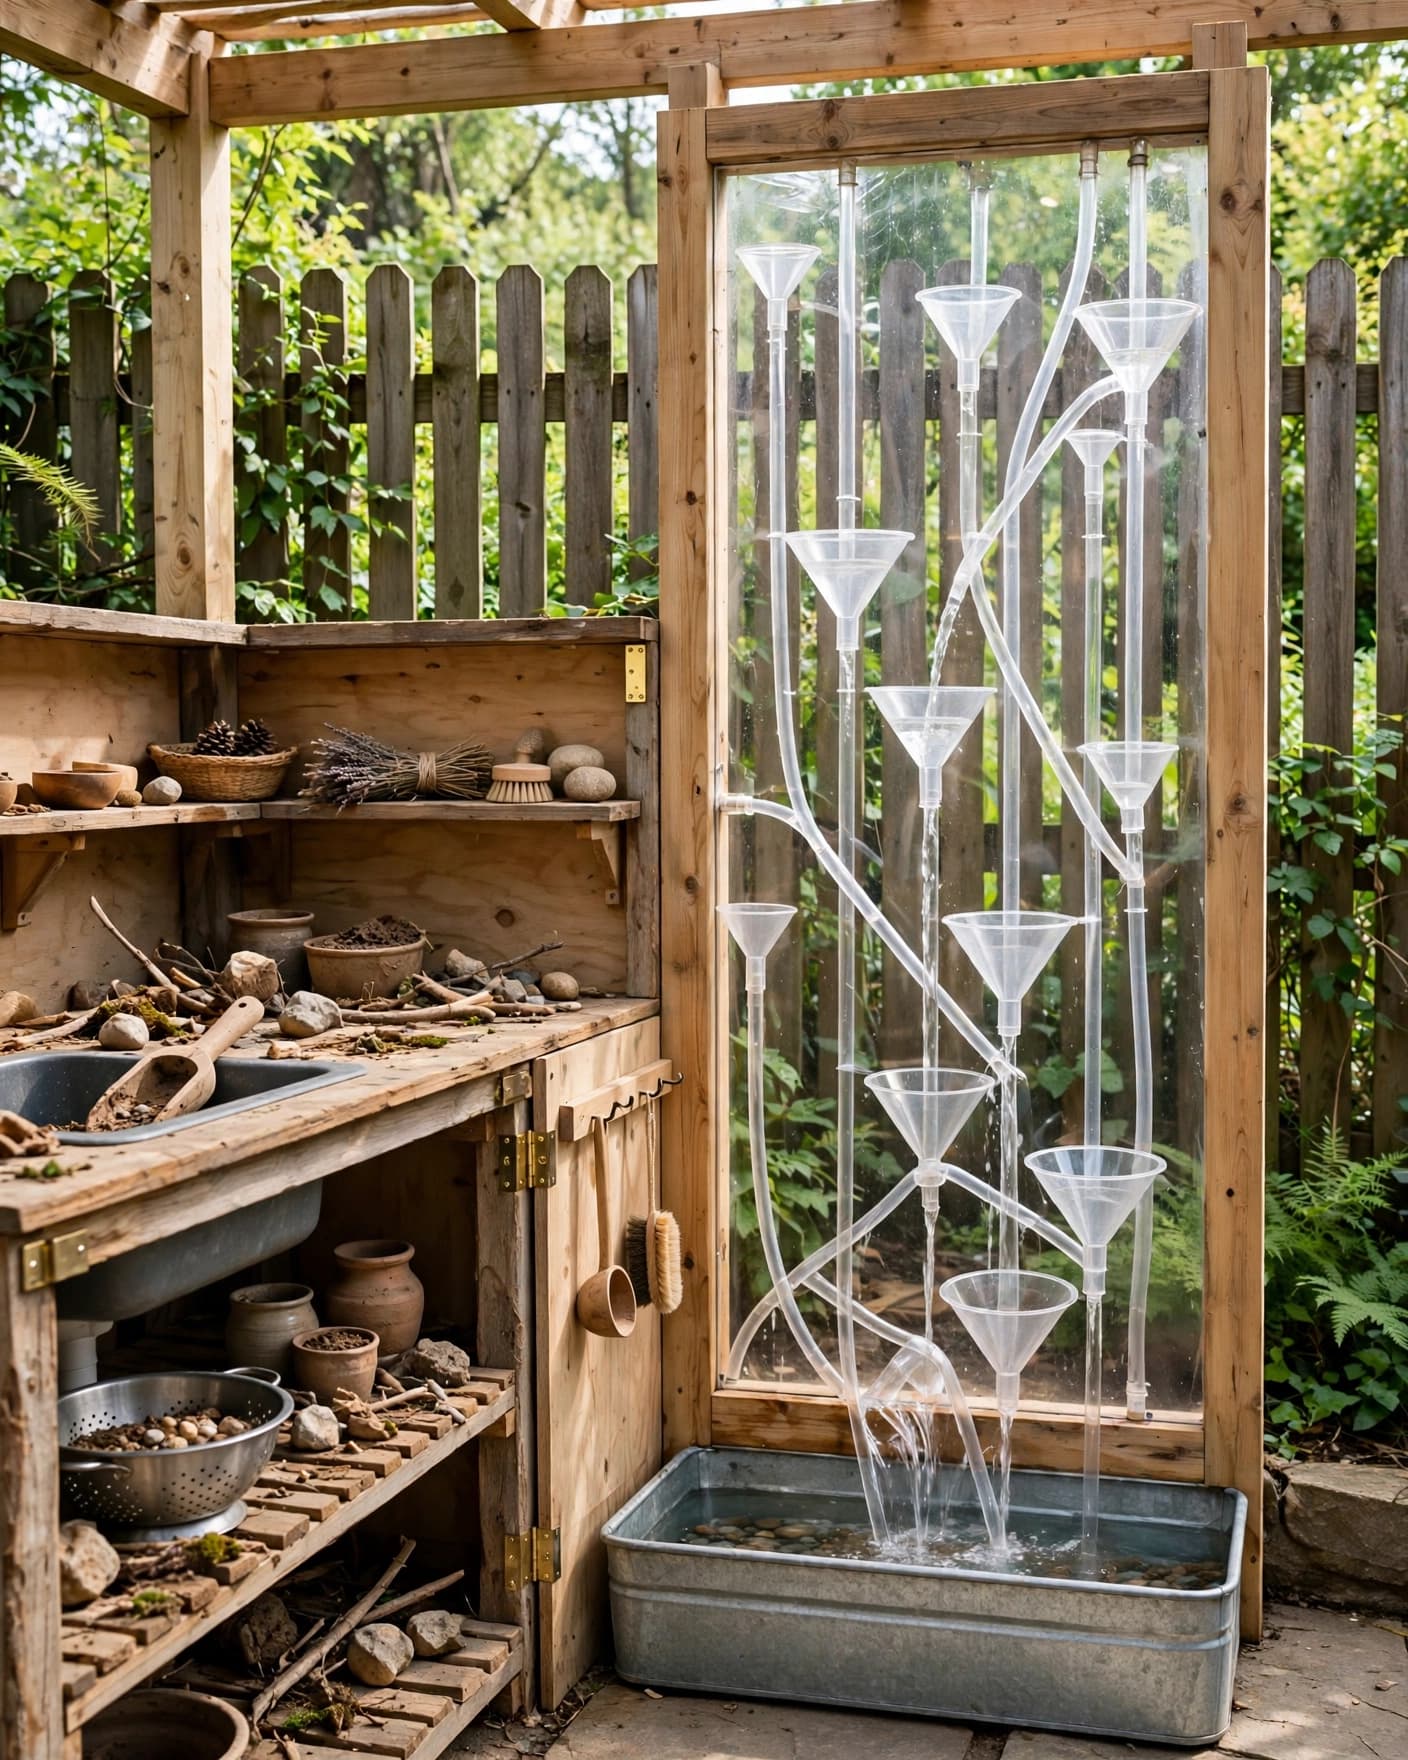
A water wall adds pouring and flowing play beside the mud kitchen. Mount a sealed board with wide tubes, funnels, and a collection basin so your child can watch water move through the pieces.
Keep the water wall low and inspect every attachment before play. A separate water station also helps you control how much water reaches the soil, which can keep the mud area from turning into a large puddle.
10. Herb Garden Mud Kitchen
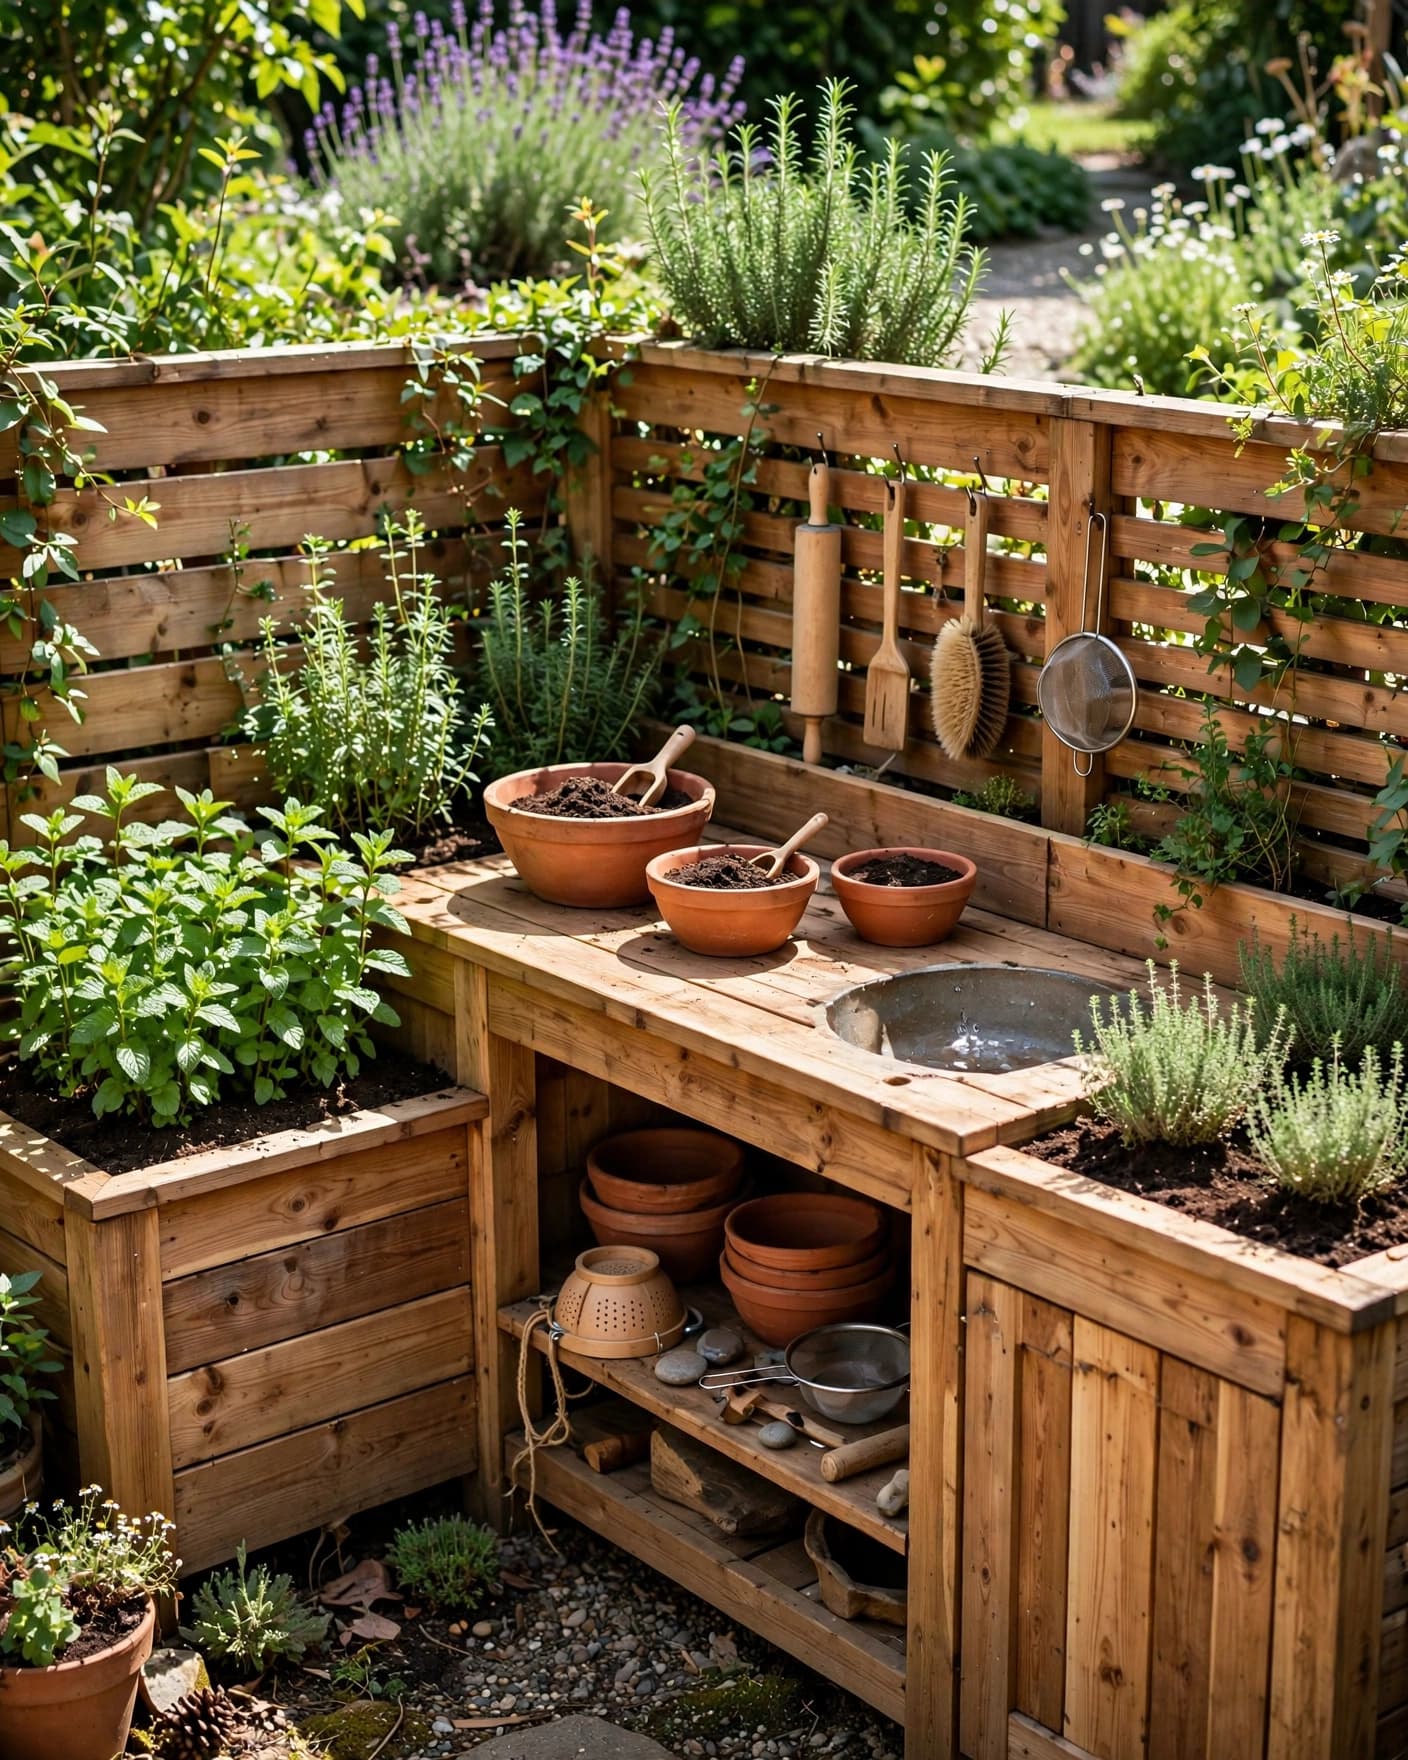
An herb garden beside the mud kitchen adds scent, color, and a reason to visit the space every day. Mint, thyme, and other garden plants can become pretend ingredients for mud soups, pies, and outdoor recipes.
Use a planter trough or separate pots so the herbs stay easy to identify. Keep the mixing surface clear, because your child will need space for bowls, spoons, and muddy creations.
11. Covered Mud Kitchen
A covered mud kitchen keeps the main work area usable during light rain and strong sun. Add a simple roof, a deep basin, and a nearby bucket so your child can work with damp soil without standing in a fully exposed space.
A covered design also protects bowls and wooden tools between play sessions. Check the roof, gutter, and collection bucket often so water doesn’t collect where your child walks.
12. Toddler-Height Mud Kitchen
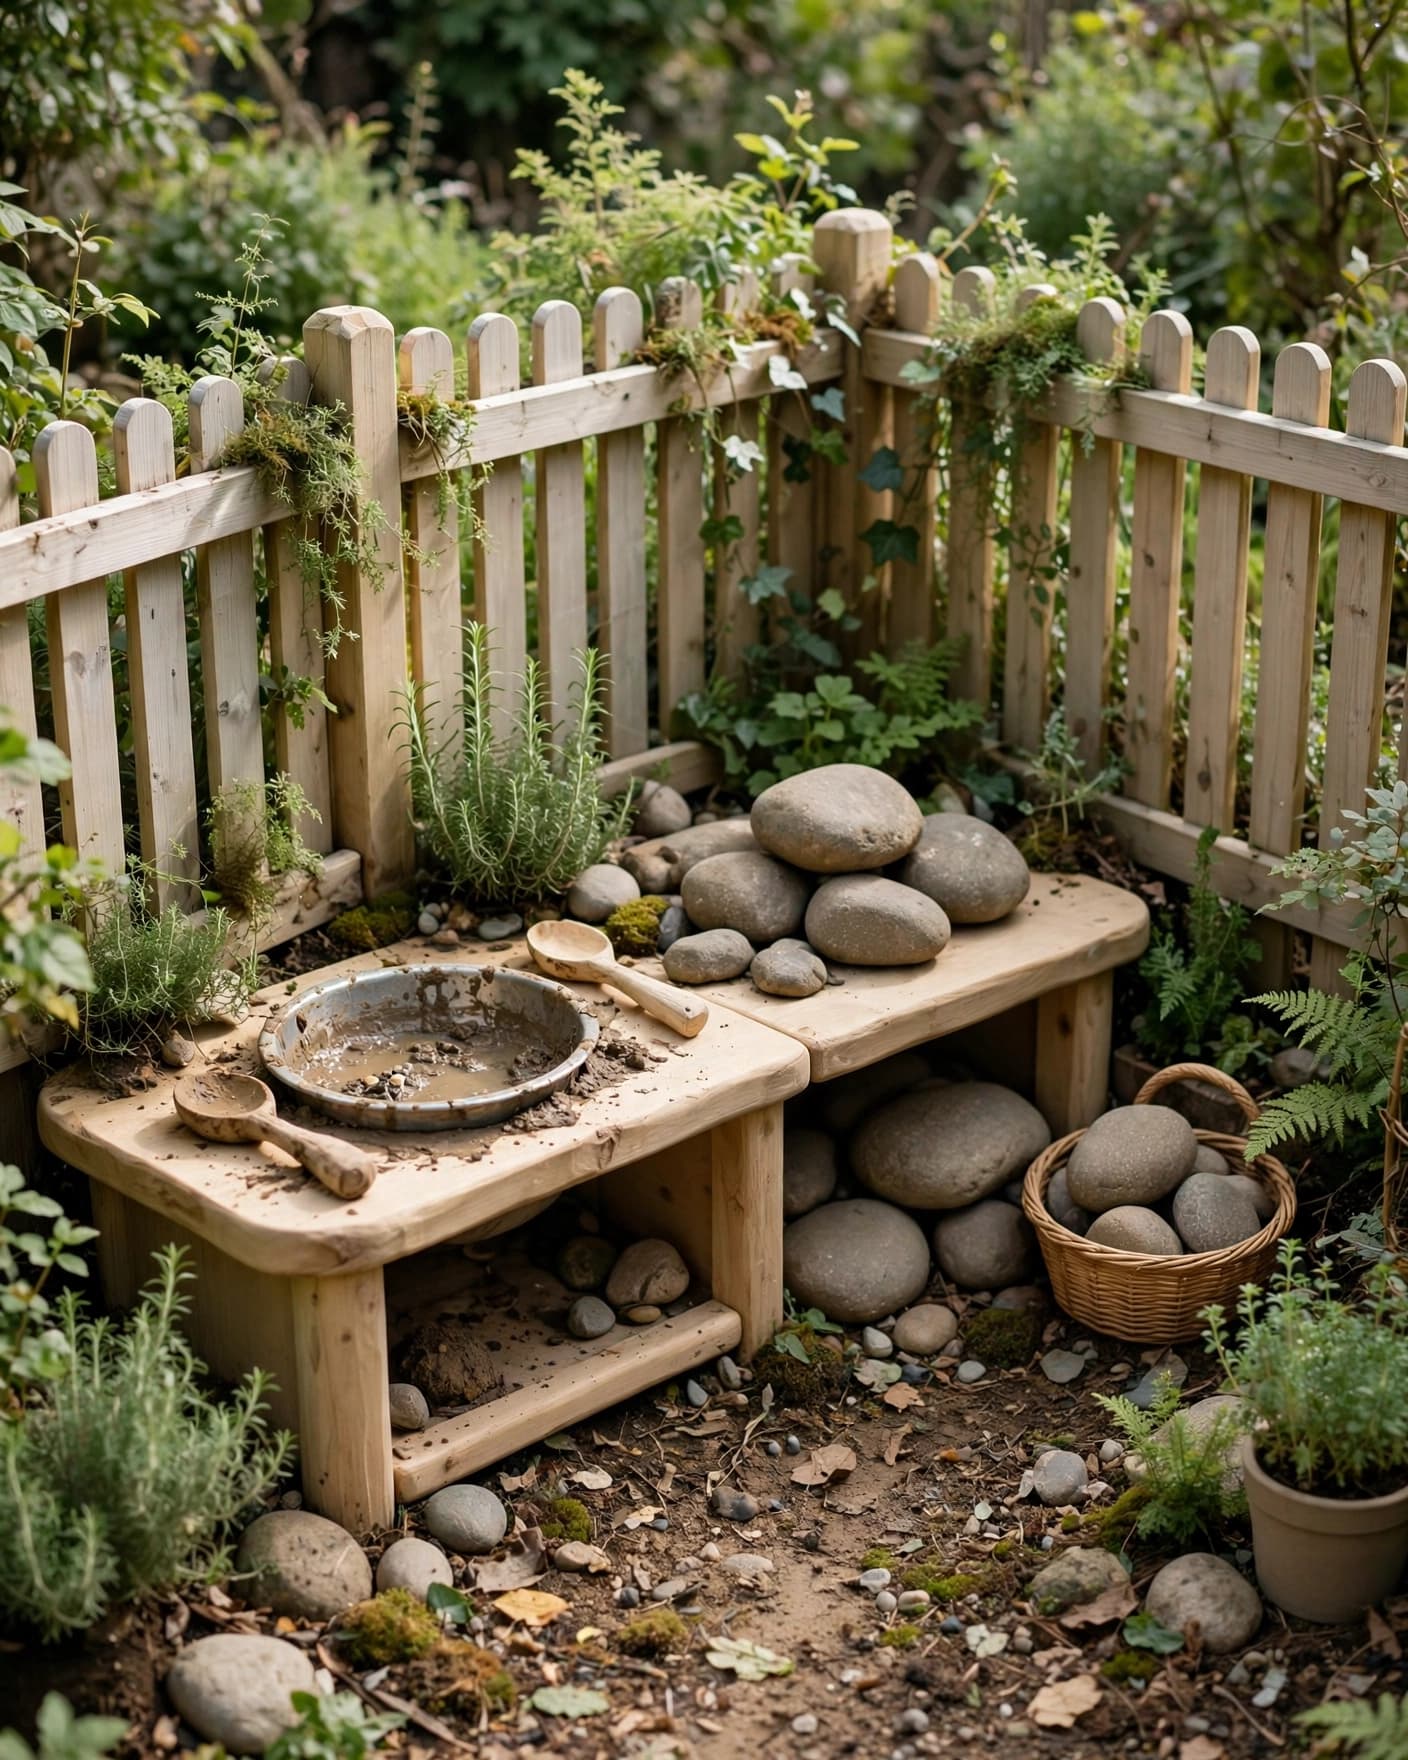
A toddler-height mud kitchen uses a low counter, rounded edges, and large easy-to-hold tools. Keep the layout open so your child can see the bowl, spoon, and soil area without stretching or reaching over a high ledge.
Choose large, smooth loose parts instead of tiny pieces for younger children. Stay close during play, especially when you introduce stones, shells, or any object that could fit inside a child’s mouth.
13. Pretend Bakery Mud Kitchen
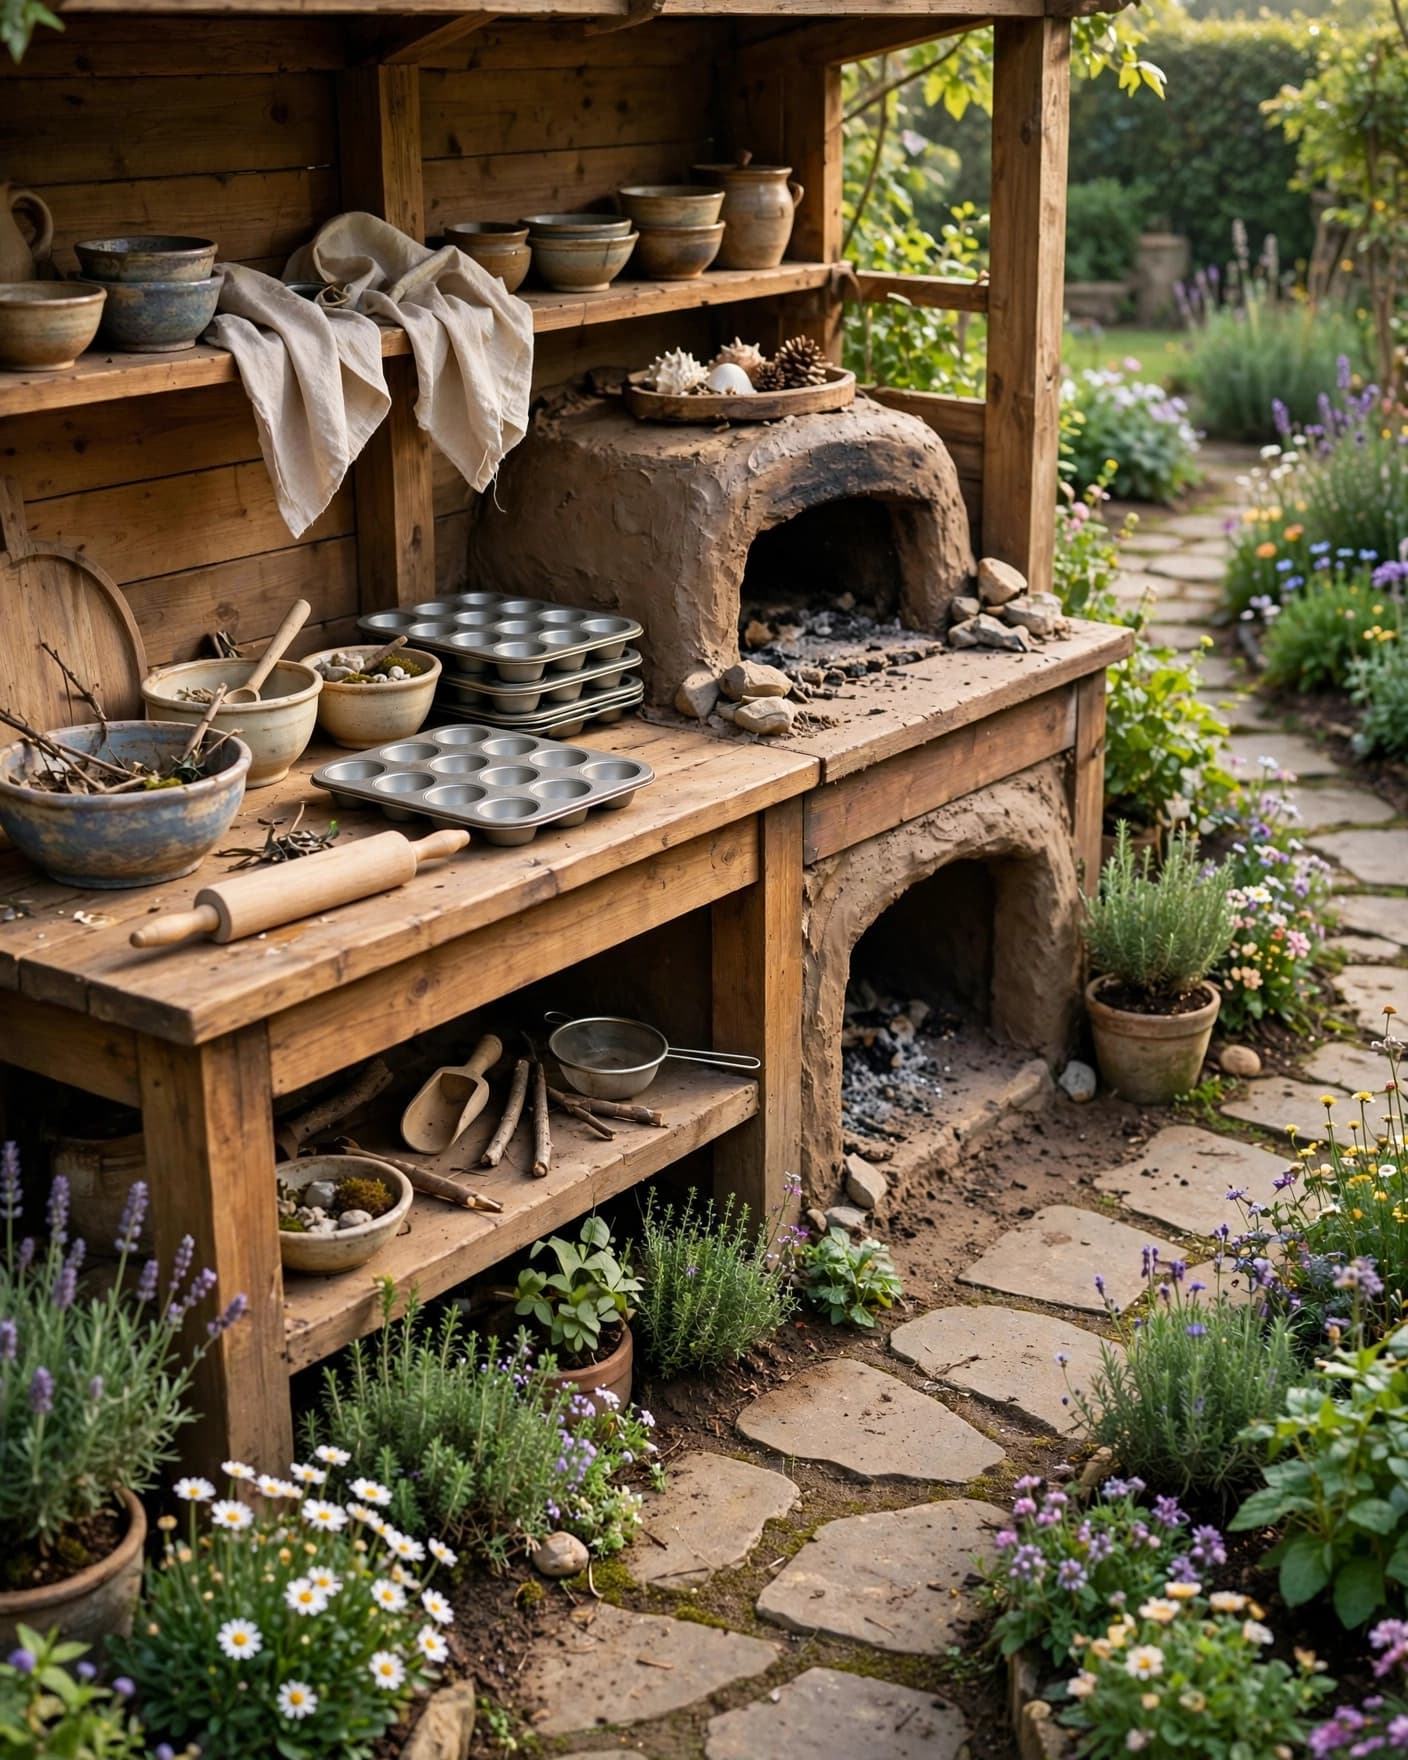
A pretend bakery mud kitchen turns mud play into imaginative cooking. Add a low oven opening, muffin tins, a rolling pin, and shallow bowls so your child can shape pretend bread, pies, and cakes.
Create a drying shelf beside the counter for finished mud treats. Choose plain accessories without delicate parts, and leave enough room for your child to move between the mixing surface and the display area.
14. Mud Kitchen With a Blank Chalkboard
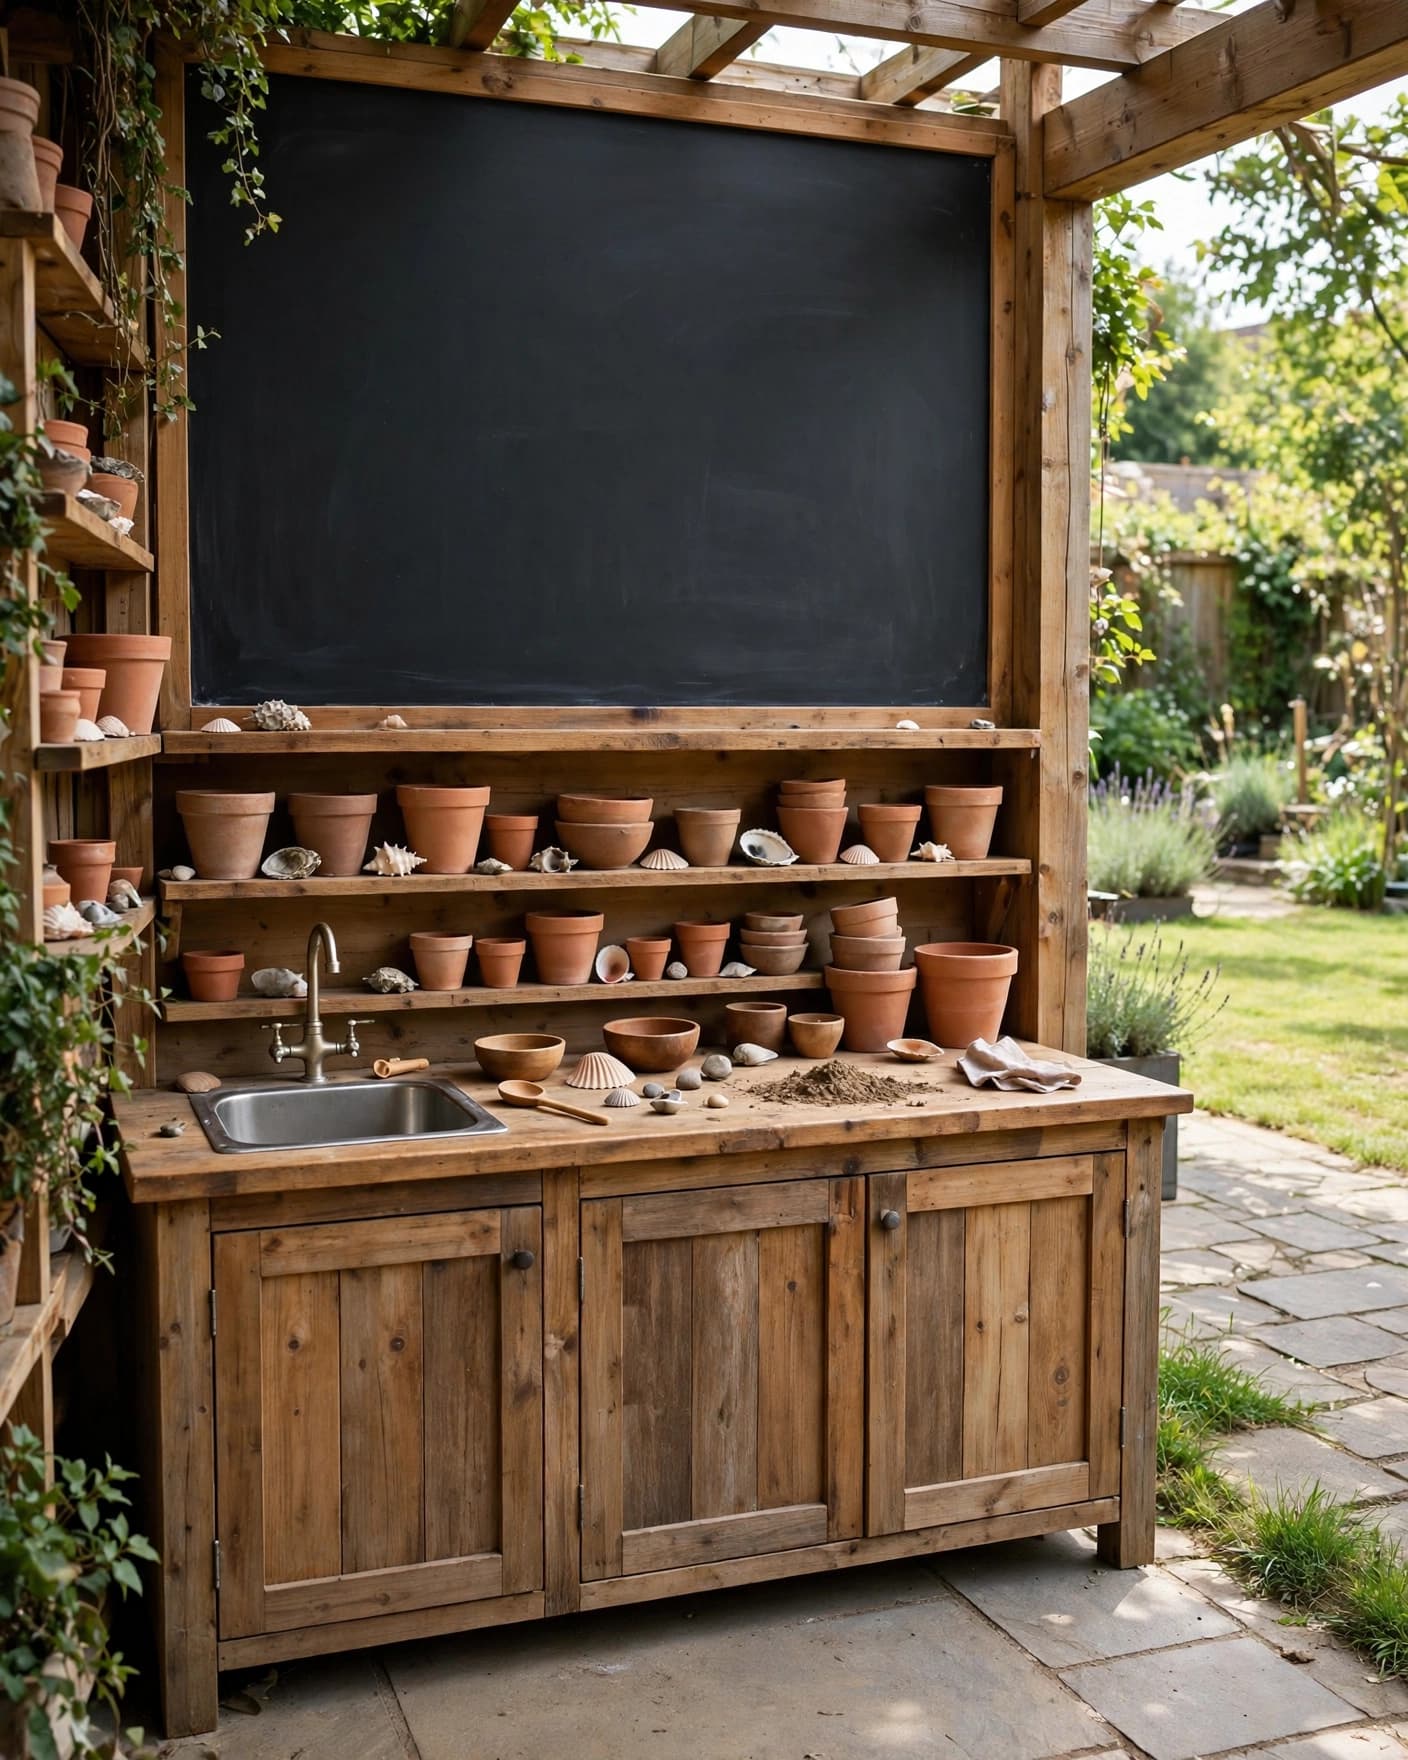
A blank chalkboard gives your child a place to draw pretend menus, make marks, or create pictures beside the kitchen. Mount it at eye level and keep a few pieces of chalk in a small container nearby.
Place the board beside the counter instead of directly above the mixing area. That layout gives your child a clear drawing space and keeps chalk dust away from wet mud and water.
15. Sensory Garden Mud Kitchen
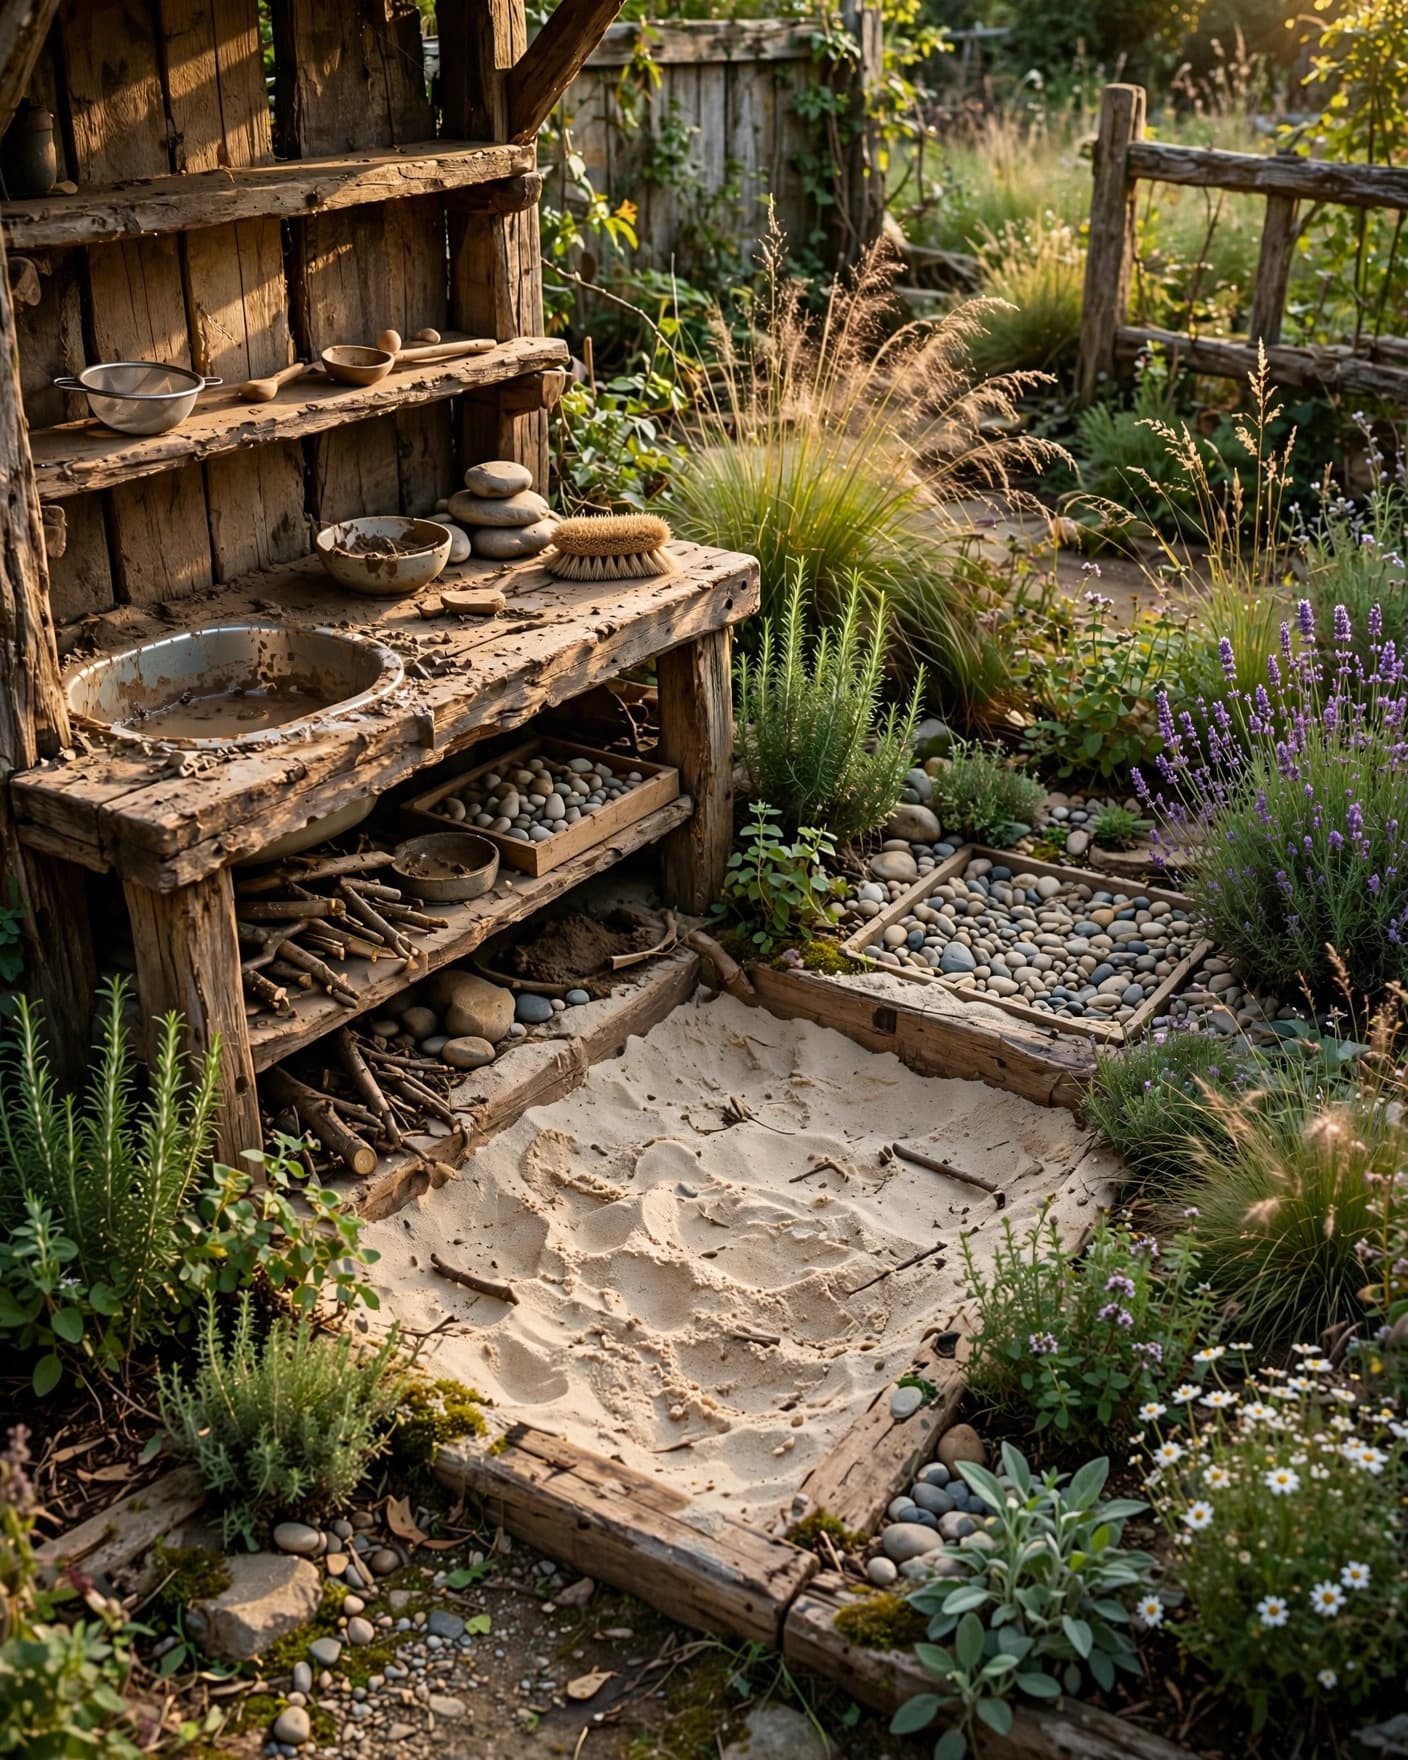
A sensory garden mud kitchen combines soil with sand, pebbles, fragrant plants, and soft grasses. Each material gives your child a different texture to touch, scoop, press, and mix.
Create clear areas for each material so the garden stays easy to manage. A shallow sand patch can sit beside the kitchen, while a pebble tray can hold smooth stones away from the main walking path.
16. Narrow Side-Yard Mud Kitchen
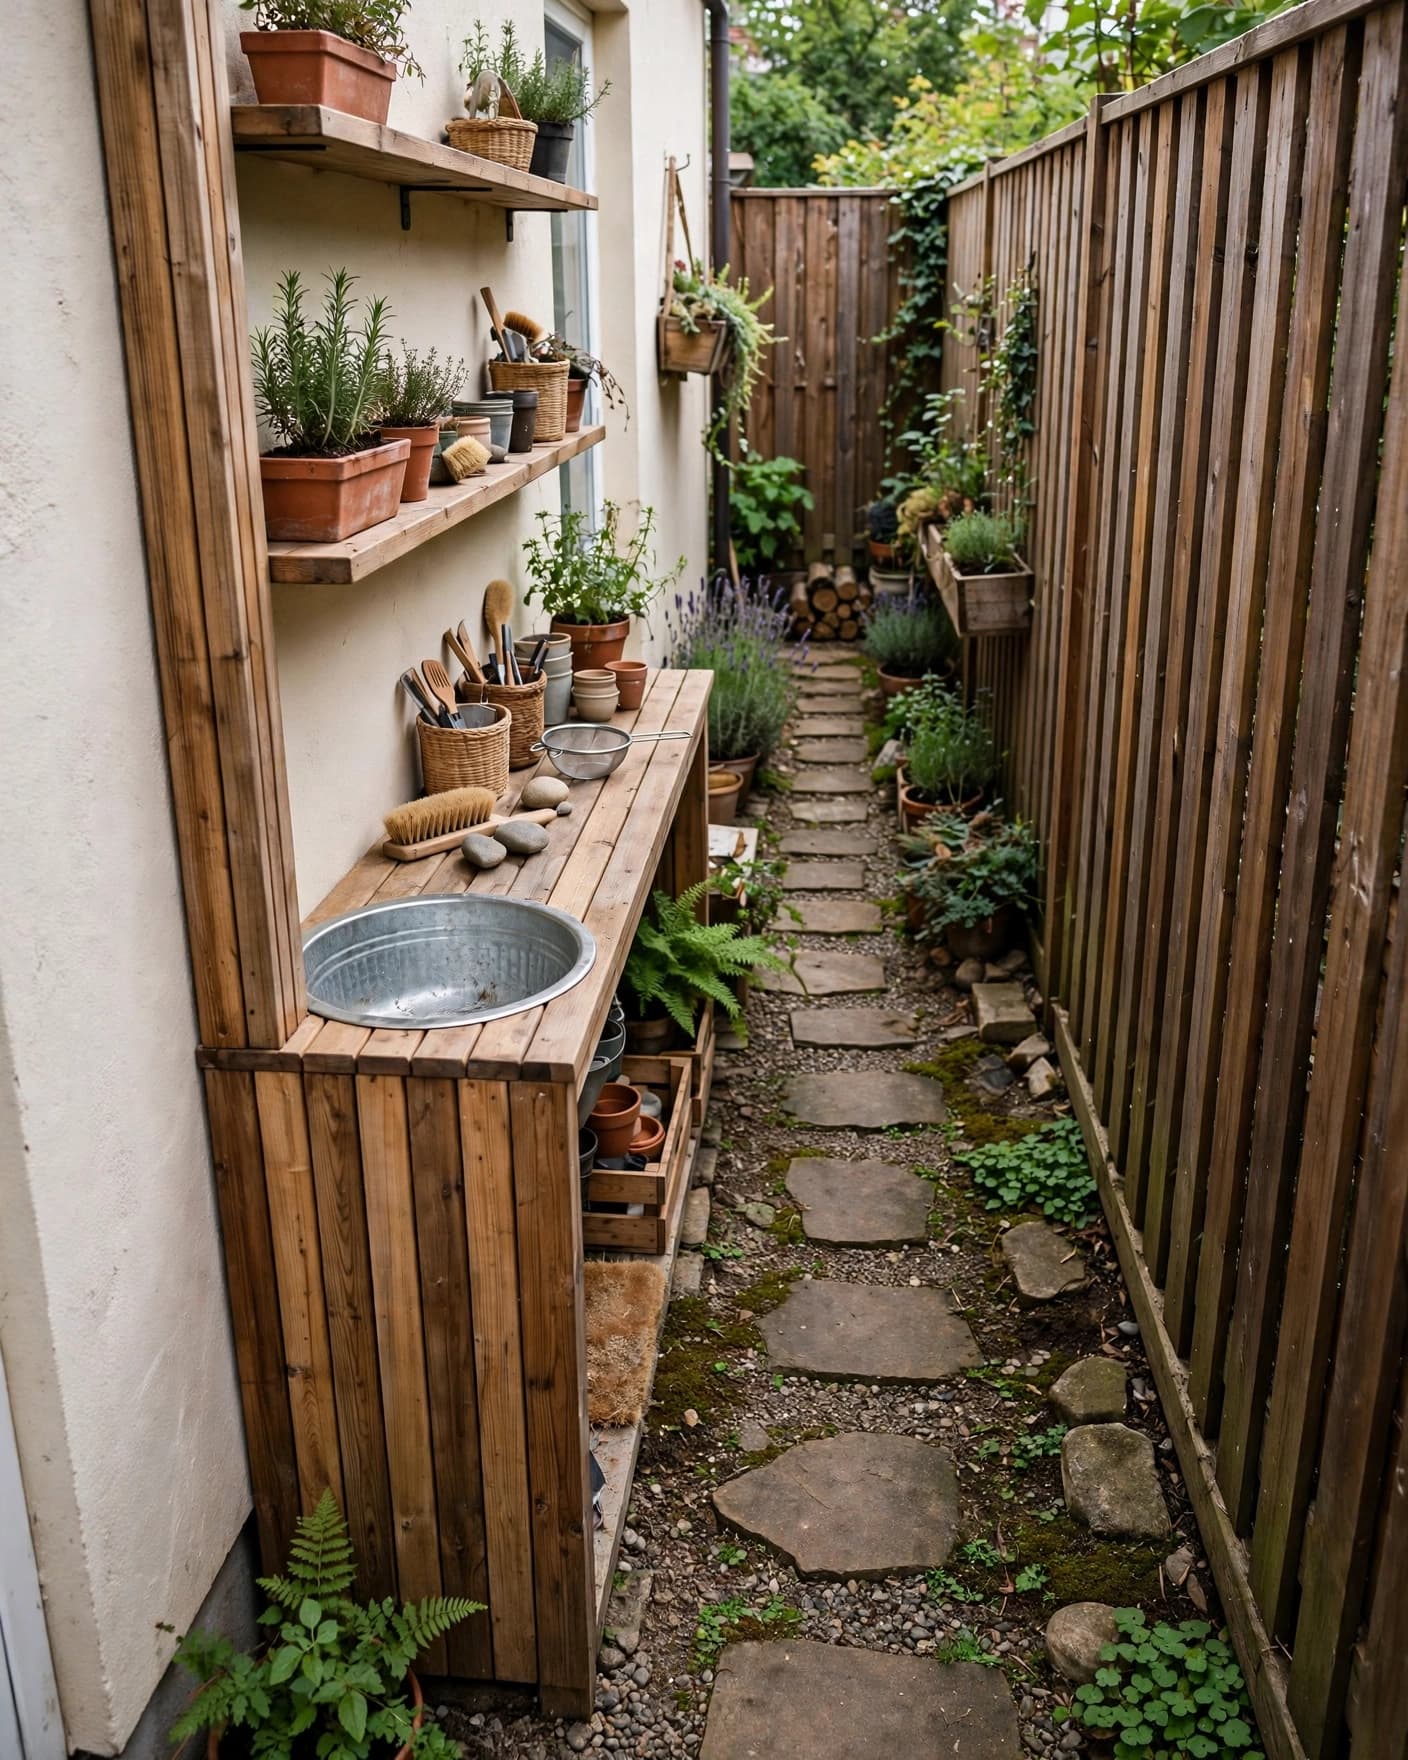
A narrow side-yard mud kitchen makes use of a passage that might otherwise sit empty. Choose a slim counter, wall-mounted shelves, and a shallow basin so your child still has room to stand and move safely.
Keep the walkway clear of loose buckets, stools, and tools when play ends. Stepping stones can define the play zone, but place them carefully so they don’t create a trip hazard near the work area.
17. Mobile Mud Kitchen Cart
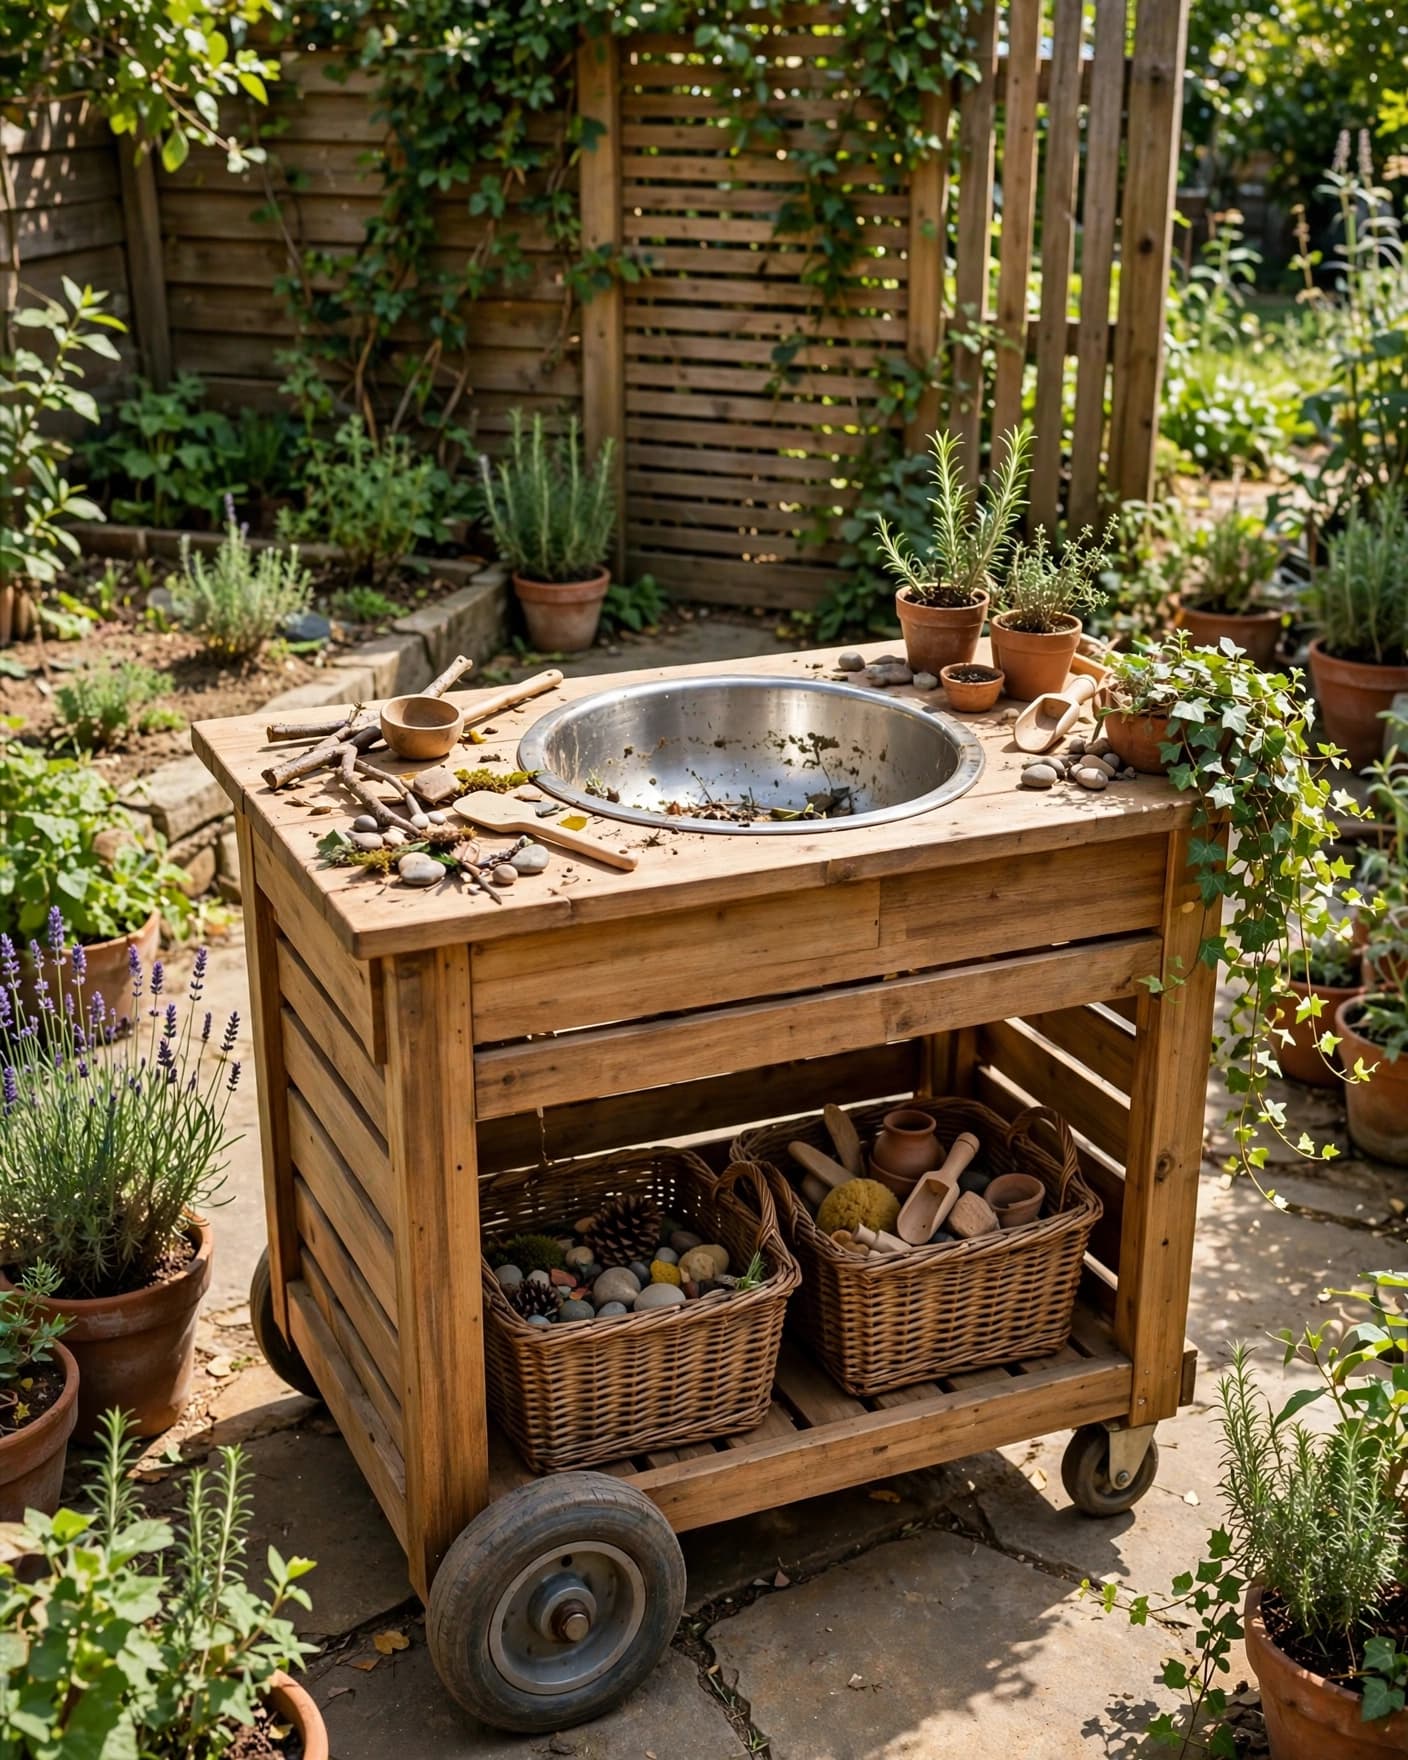
A mobile mud kitchen cart lets you move the setup between a patio, lawn, and shaded garden corner. Use large stable wheels, a removable basin, and lower baskets for bowls and tools.
Move the cart onto a level surface before play begins, then secure it so it doesn’t roll. Bring wet tools indoors or store them in a covered bin when you want to keep the patio clear.
18. Mud-Pie Drying Shelf
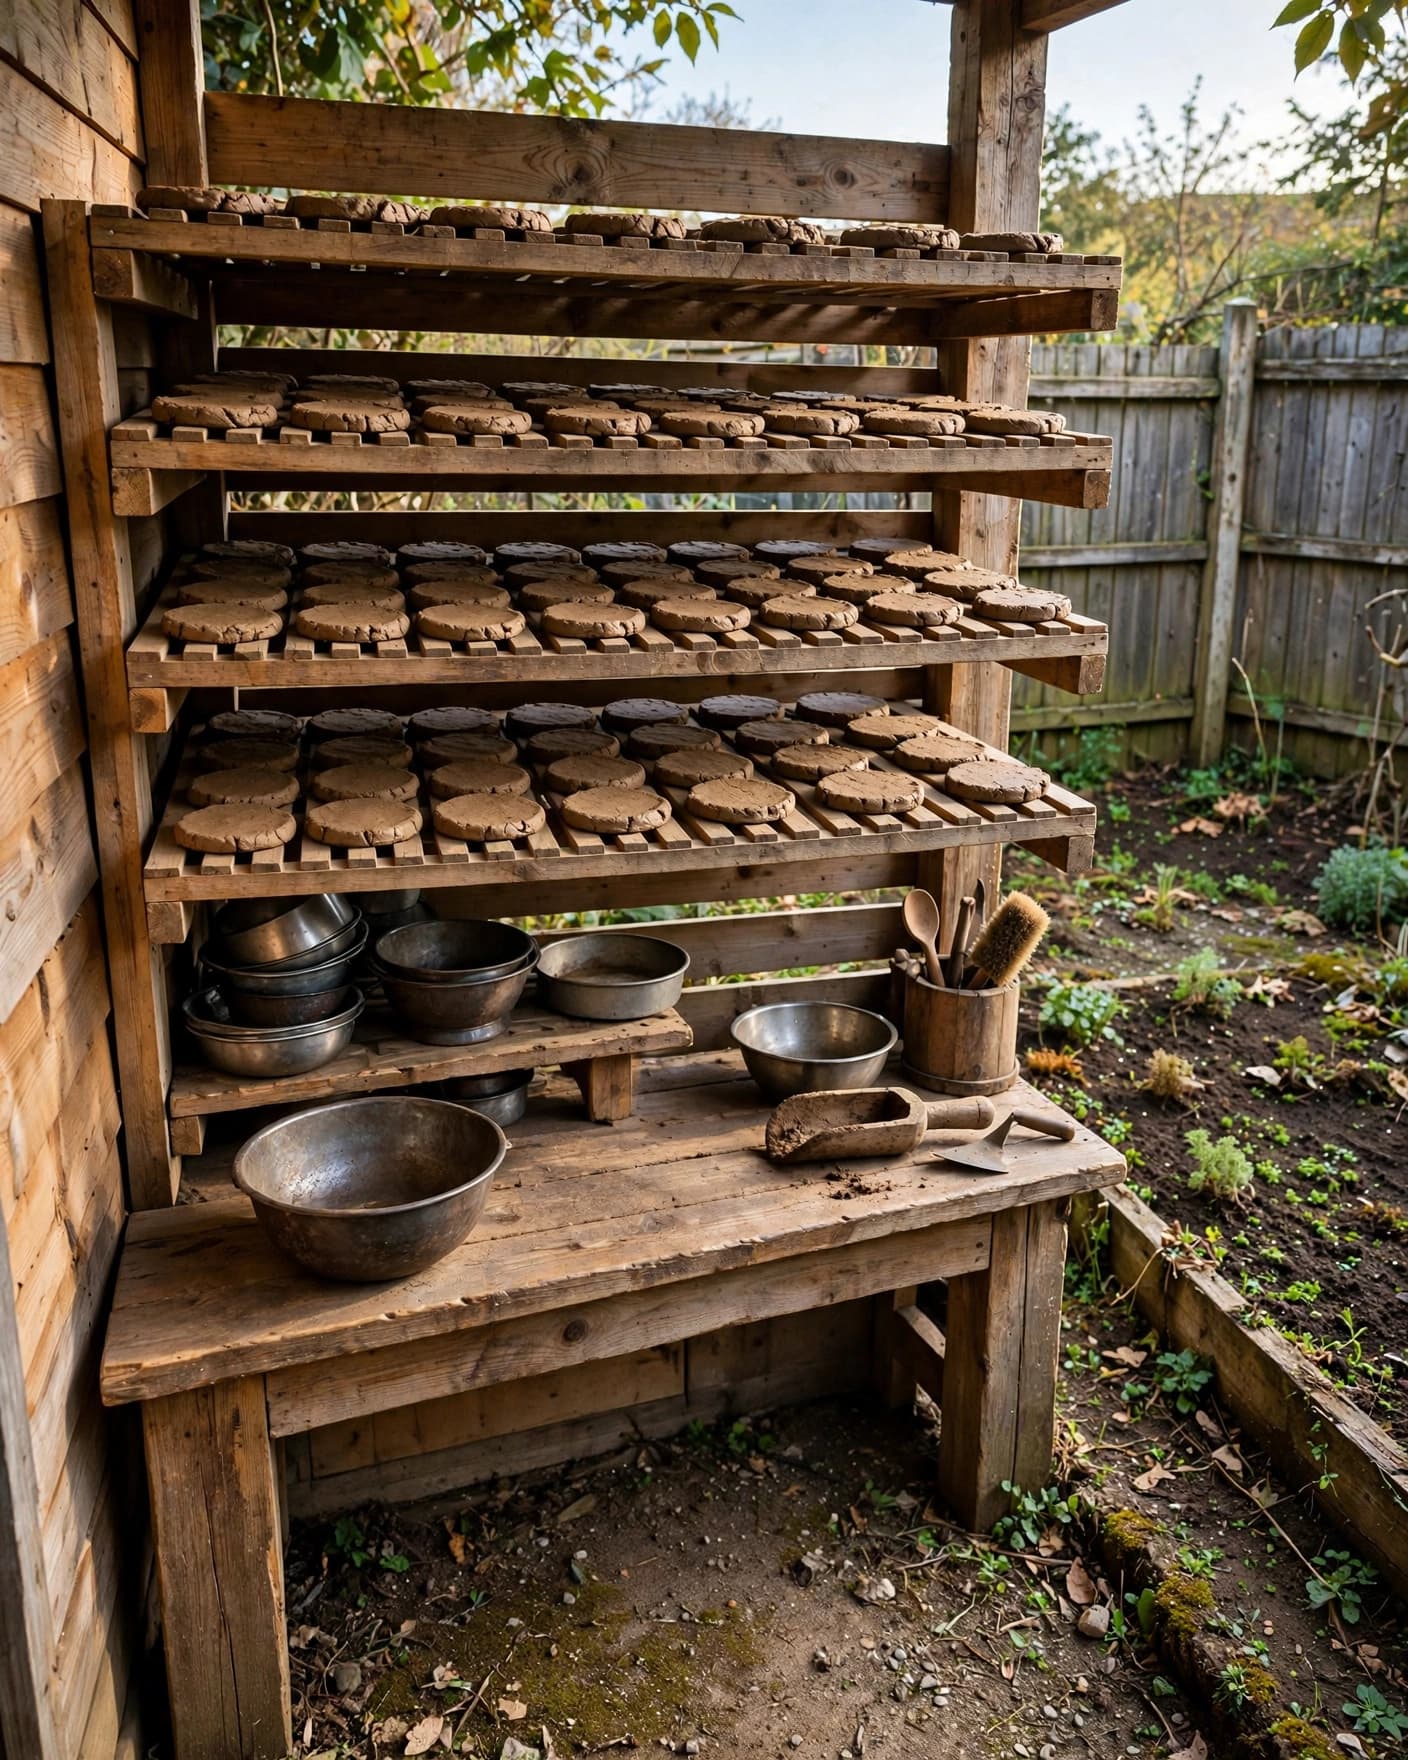
A mud-pie drying shelf gives your child a place to display finished creations. Use broad slatted shelves so air can move around the mud pies and so your child can see each piece without stacking them.
Place the shelf beside the main counter but away from the busiest walking route. Leave some empty shelf space because your child may want to create several batches during one play session.
19. Mud Kitchen Beside a Sandbox
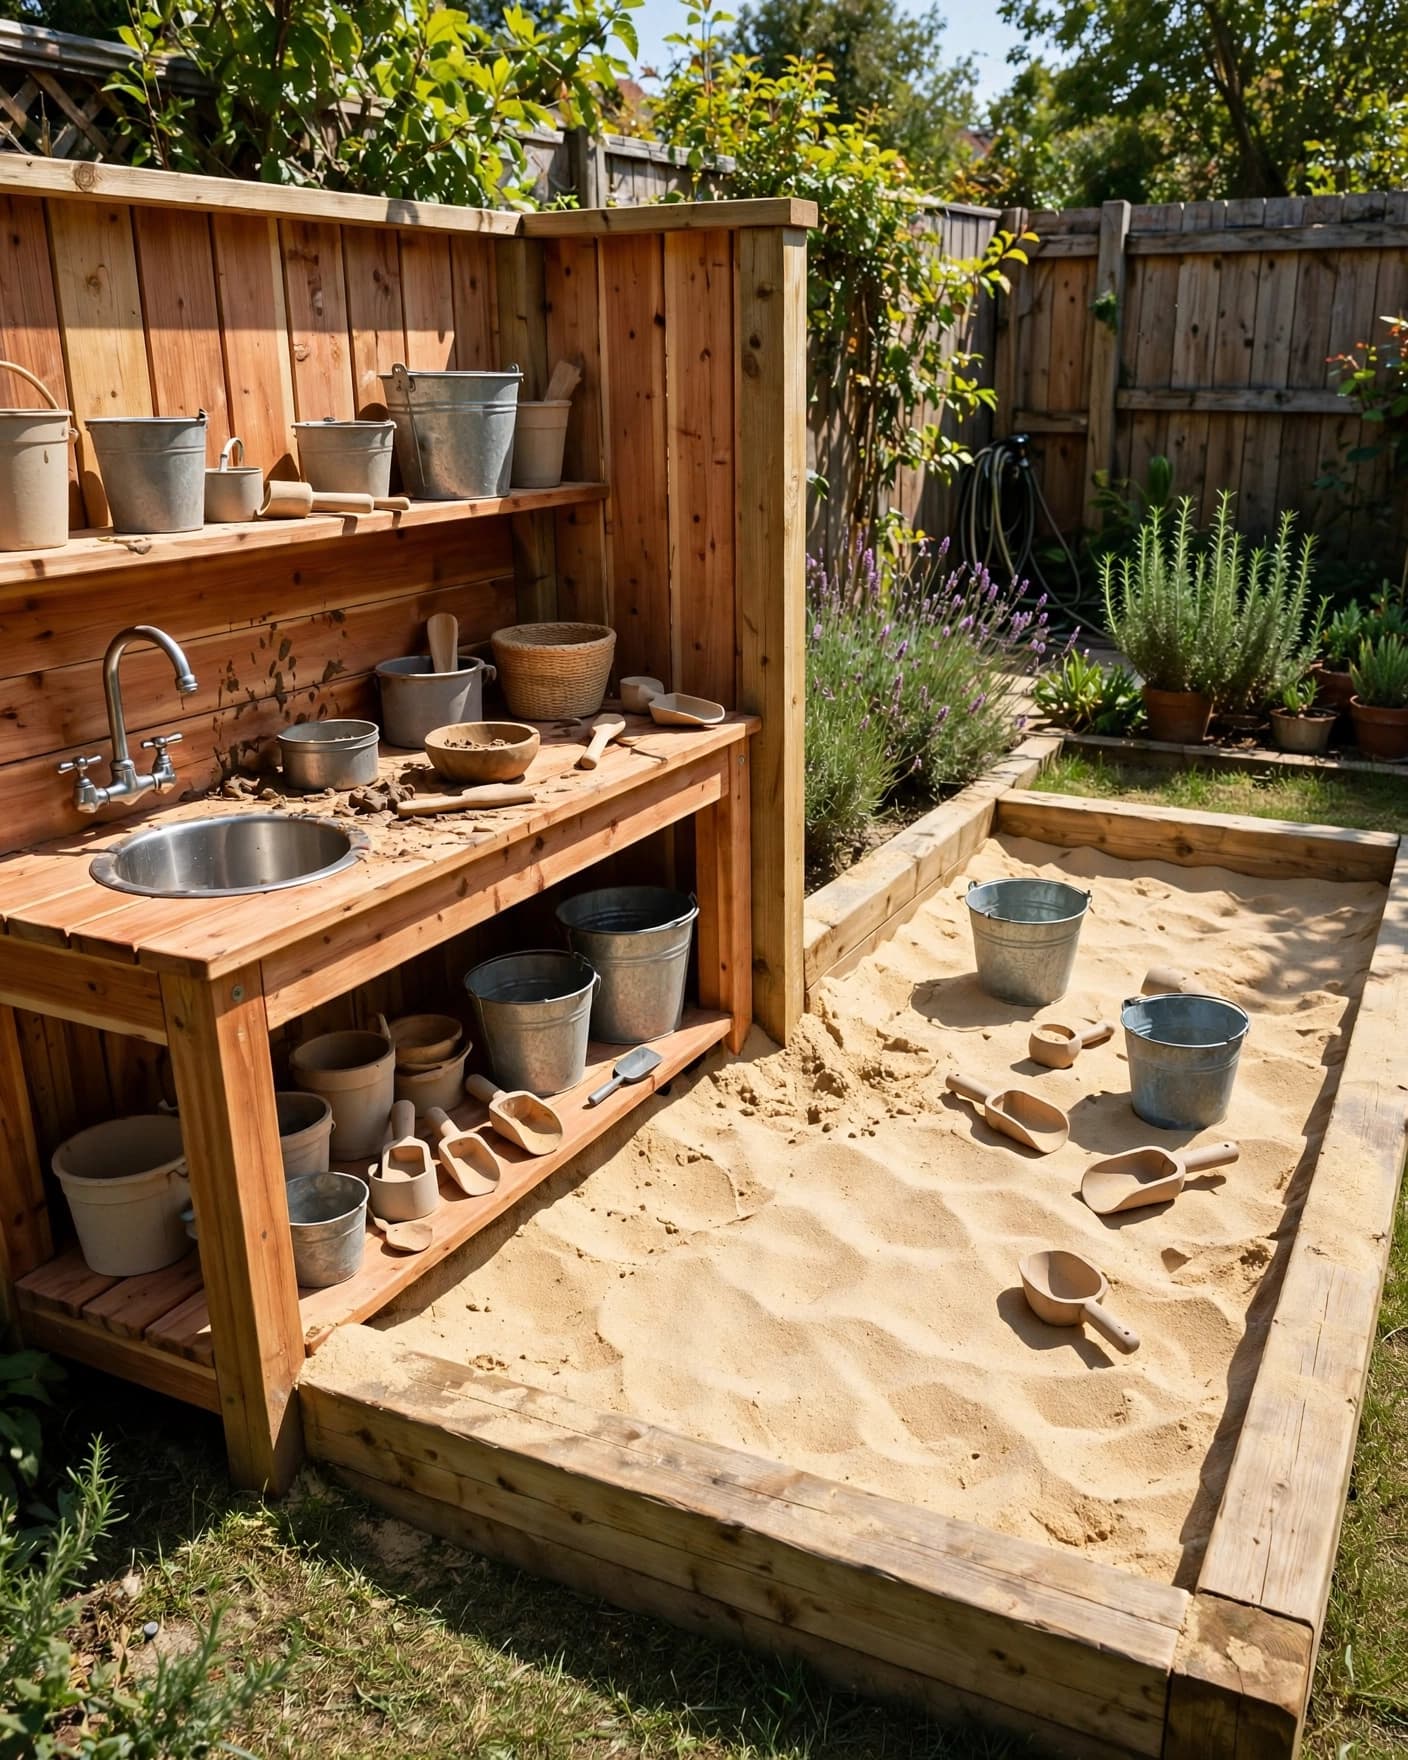
A mud kitchen beside a sandbox gives your child two related places to scoop, pour, build, and mix. Keep the sand area and mud area close enough for creative play, but give each one a clear border.
Store buckets and scoops where your child can use them in both areas. If the sandbox includes a cover, use it after play so you can keep leaves, animals, and debris out of the sand.
20. Budget Crate Mud Kitchen
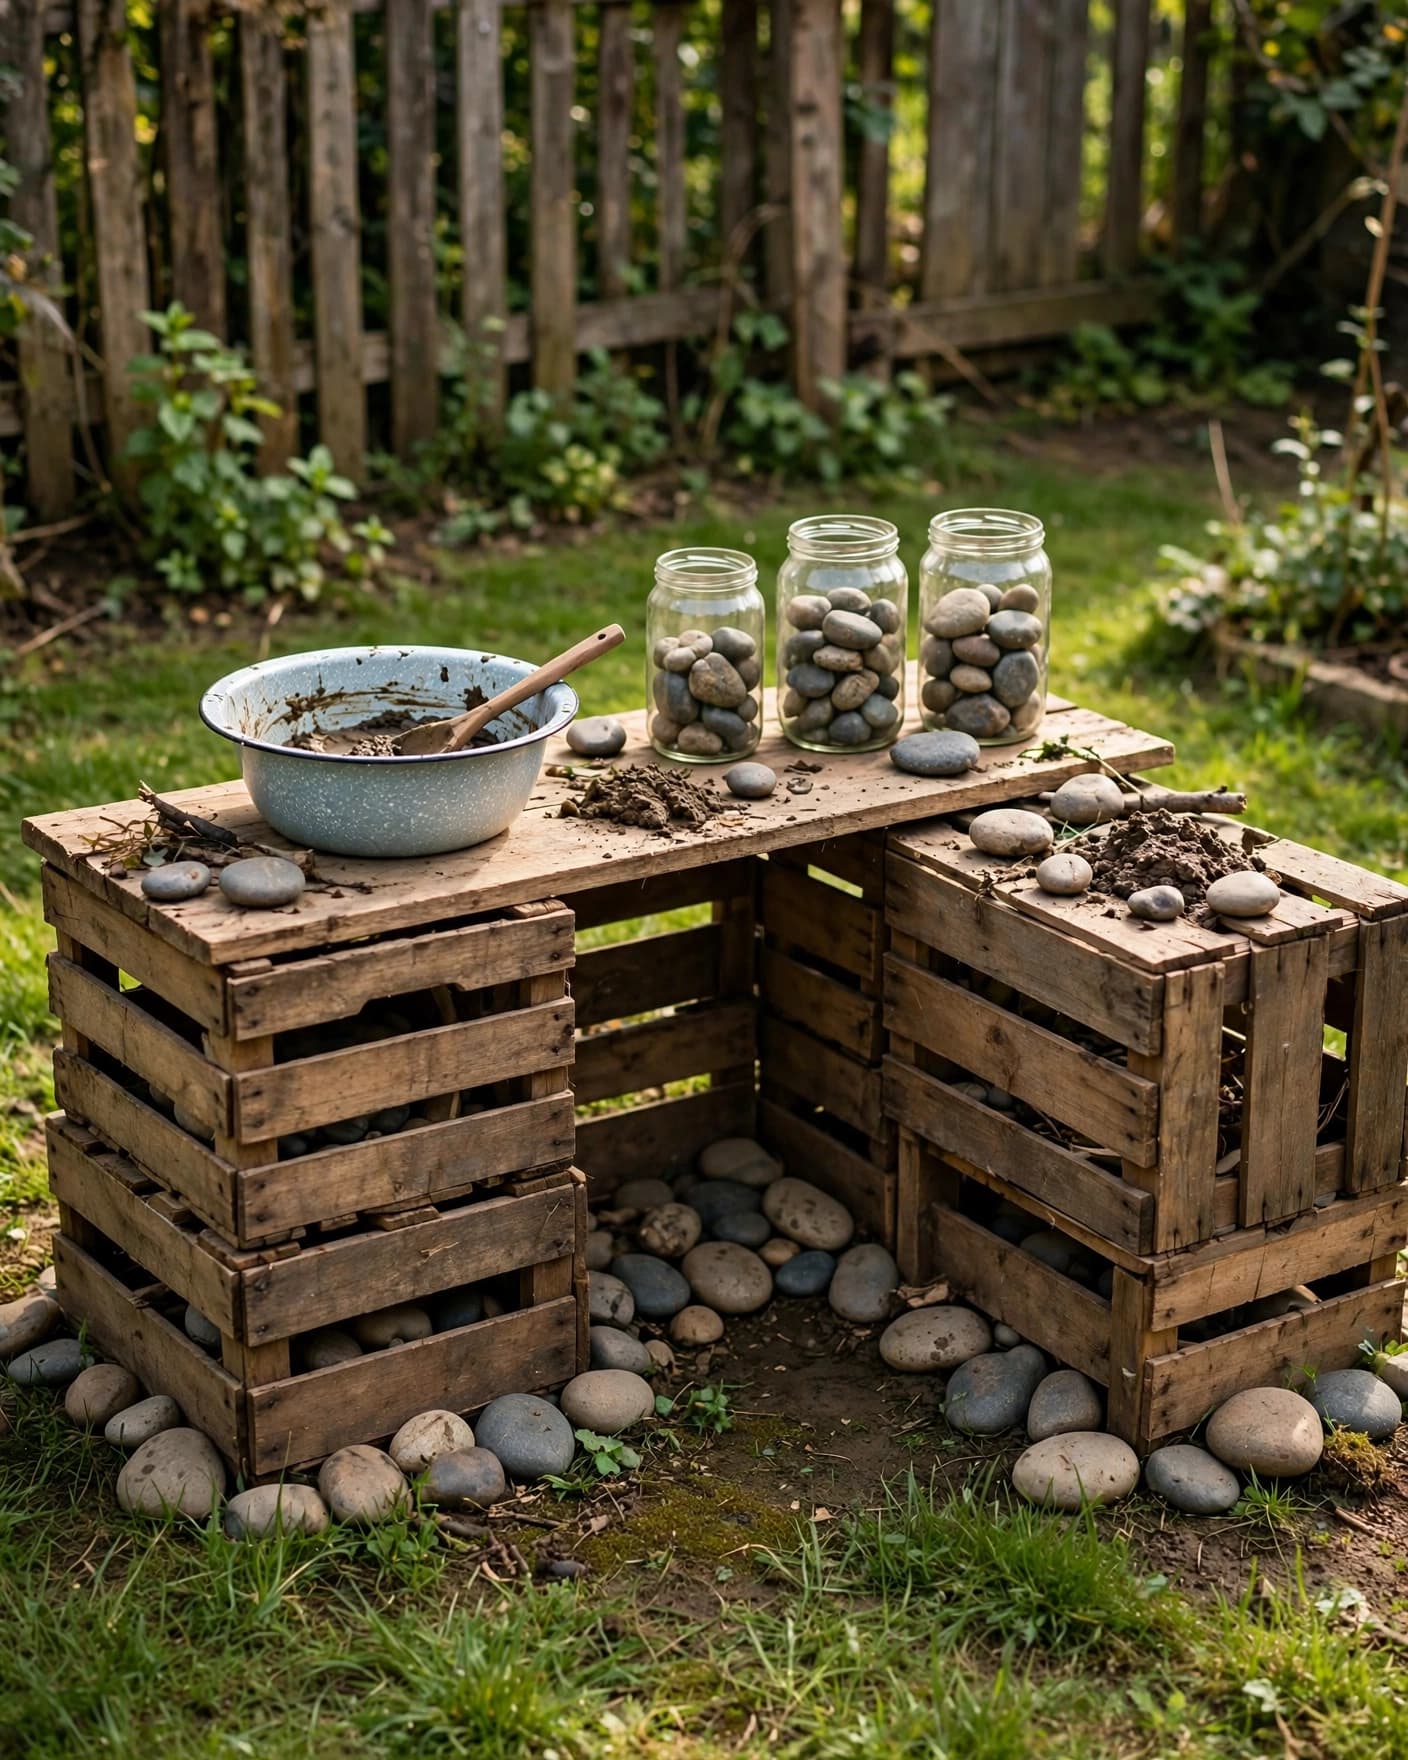
A budget mud kitchen can use stacked wooden crates, one sturdy plank, and an enamel bowl. The crates create storage without requiring built-in shelves, while the plank provides a clear mixing surface.
Check that every crate sits firmly before play, and keep the top surface level. Use plain jars, smooth stones, and reused bowls for accessories, but remove labels, cracked glass, and any piece with a sharp edge.
21. Mud Kitchen With a Mini Greenhouse
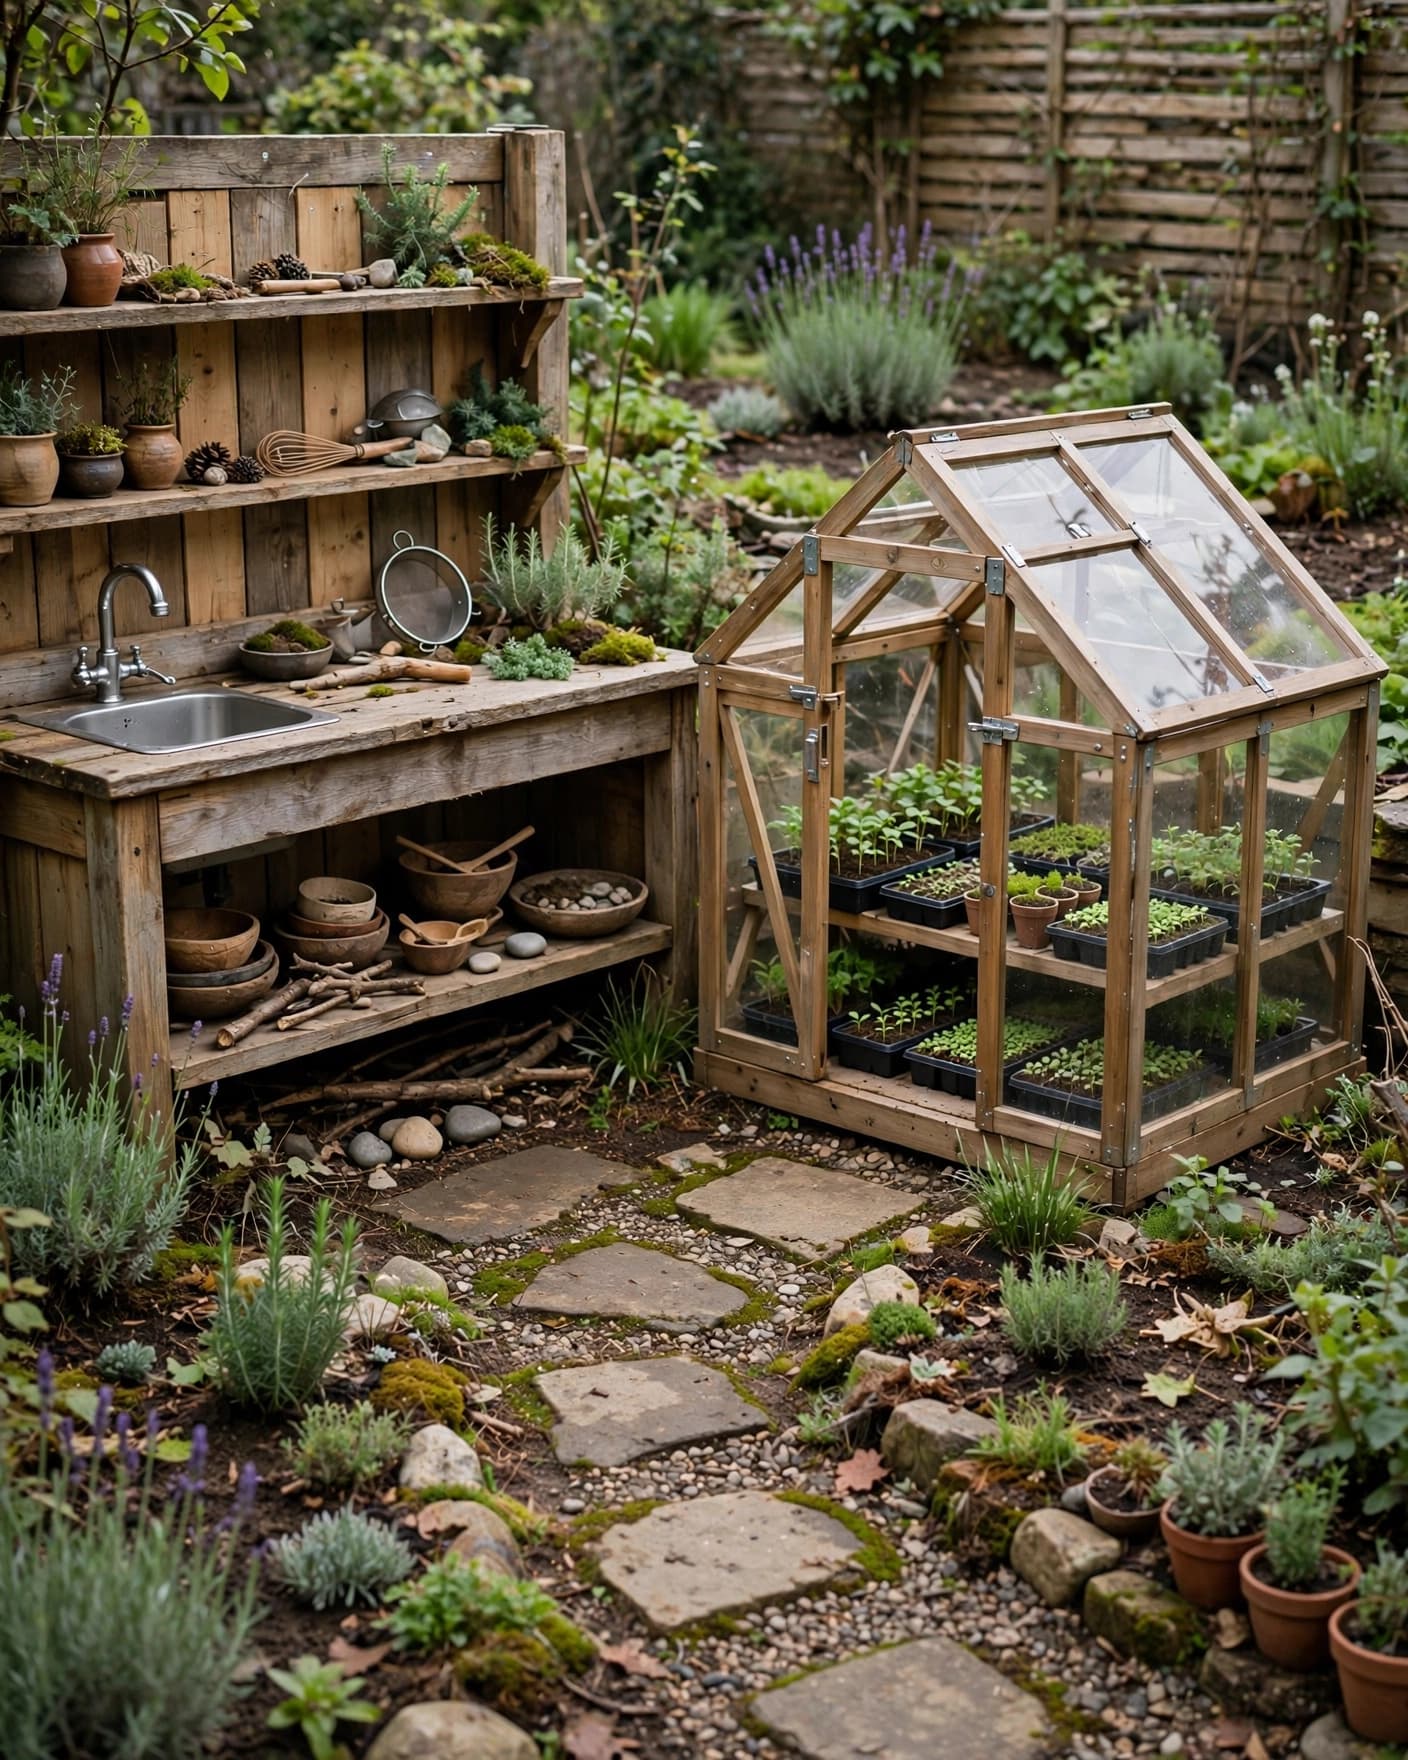
A mud kitchen beside a miniature greenhouse connects pretend cooking with garden play. Your child can look at seedlings, gather fallen leaves, and use soil in imaginative recipes without leaving the outdoor area.
Keep the greenhouse path wide enough for easy movement between the two spaces. Place delicate seedlings on shelves or behind a barrier so they don’t sit directly in the busiest part of the play zone.
22. Evening Mud Kitchen
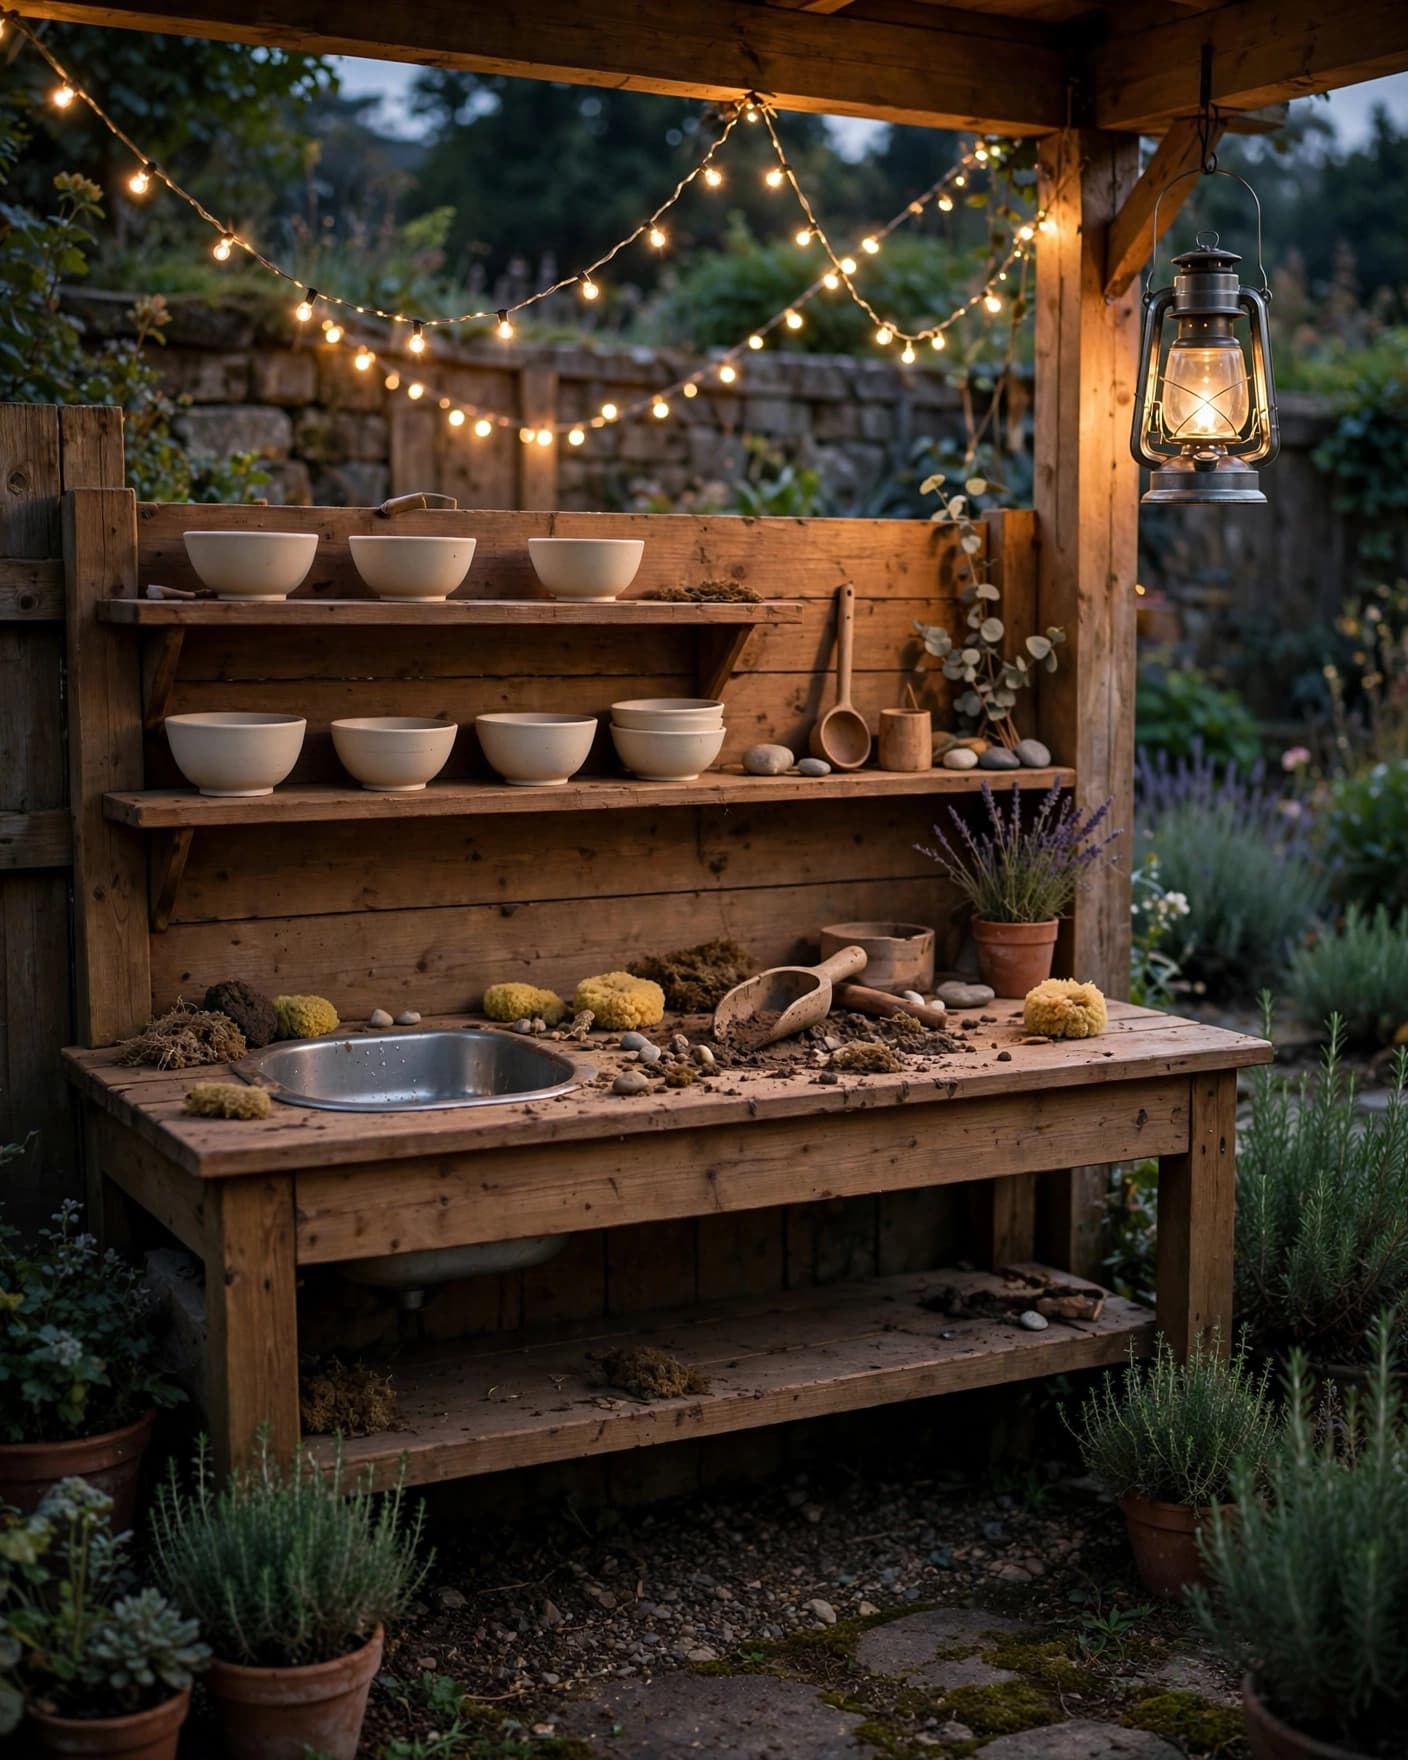
An evening mud kitchen can extend outdoor play into the cooler part of the day with warm outdoor lighting and a clear work surface. Use lantern-style lights or protected fixtures, and keep every cord, bulb, and electrical connection away from water and mud.
Keep the area bright enough for you to see the counter, ground, and walking route. Before you build around climbing or elevated play equipment, review the Public Playground Safety Handbook and the Resources for Safe Playgrounds from the U.S. Consumer Product Safety Commission and Head Start.
Mud Kitchen Safety and Cleanup
A mud kitchen should give your child room to explore while you keep the site easy to check. The mud play safety guidance from Muddy Faces can help you think through soil, tools, water, hygiene, and supervision before each session.
Check the area for sharp edges, loose hardware, exposed fasteners, unstable pieces, and gaps where fingers could get caught. If you combine the kitchen with climbing equipment or raised platforms, use the CPSC’s playground guidance for spacing, guardrails, and protective surfaces instead of treating the mud kitchen as a stand-alone low-risk feature.
CPSC guidance also warns that dirt and grass alone don’t provide fall protection around relevant playground equipment. The public-playground checklist discusses 12 inches of loose-fill surfacing in one context, while the home-playground checklist gives 9-inch guidance for certain equipment heights, so match the information to the equipment you have.
After soil play, wash hands with soap and water before eating. The CDC handwashing guidance covers wetting, lathering, scrubbing, rinsing, and drying, while Kidsafe NSW’s soil-play guidance also supports thorough handwashing after digging in mud or soil.
Save your favorite mud kitchen idea based on the space you have, then gather the one feature that matters most, such as a basin, water wall, herb planter, or drying shelf. With a clear work surface and a few well-chosen tools, you can create an outdoor play area that feels personal, practical, and ready for messy afternoons.

I’m Sumayya and I love turning ordinary spaces into ones you’ll never want to leave. Whether it’s cozy cottagecore corners, bold maximalist magic, or sleek modern minimalism, I’m here to help you discover your style and bring it to life without spending a fortune. Ready to refresh your space? Let’s make it happen!